


How Gravure Printing Cylinders Are Made: Inside Our Cylinder Supplier's Factory
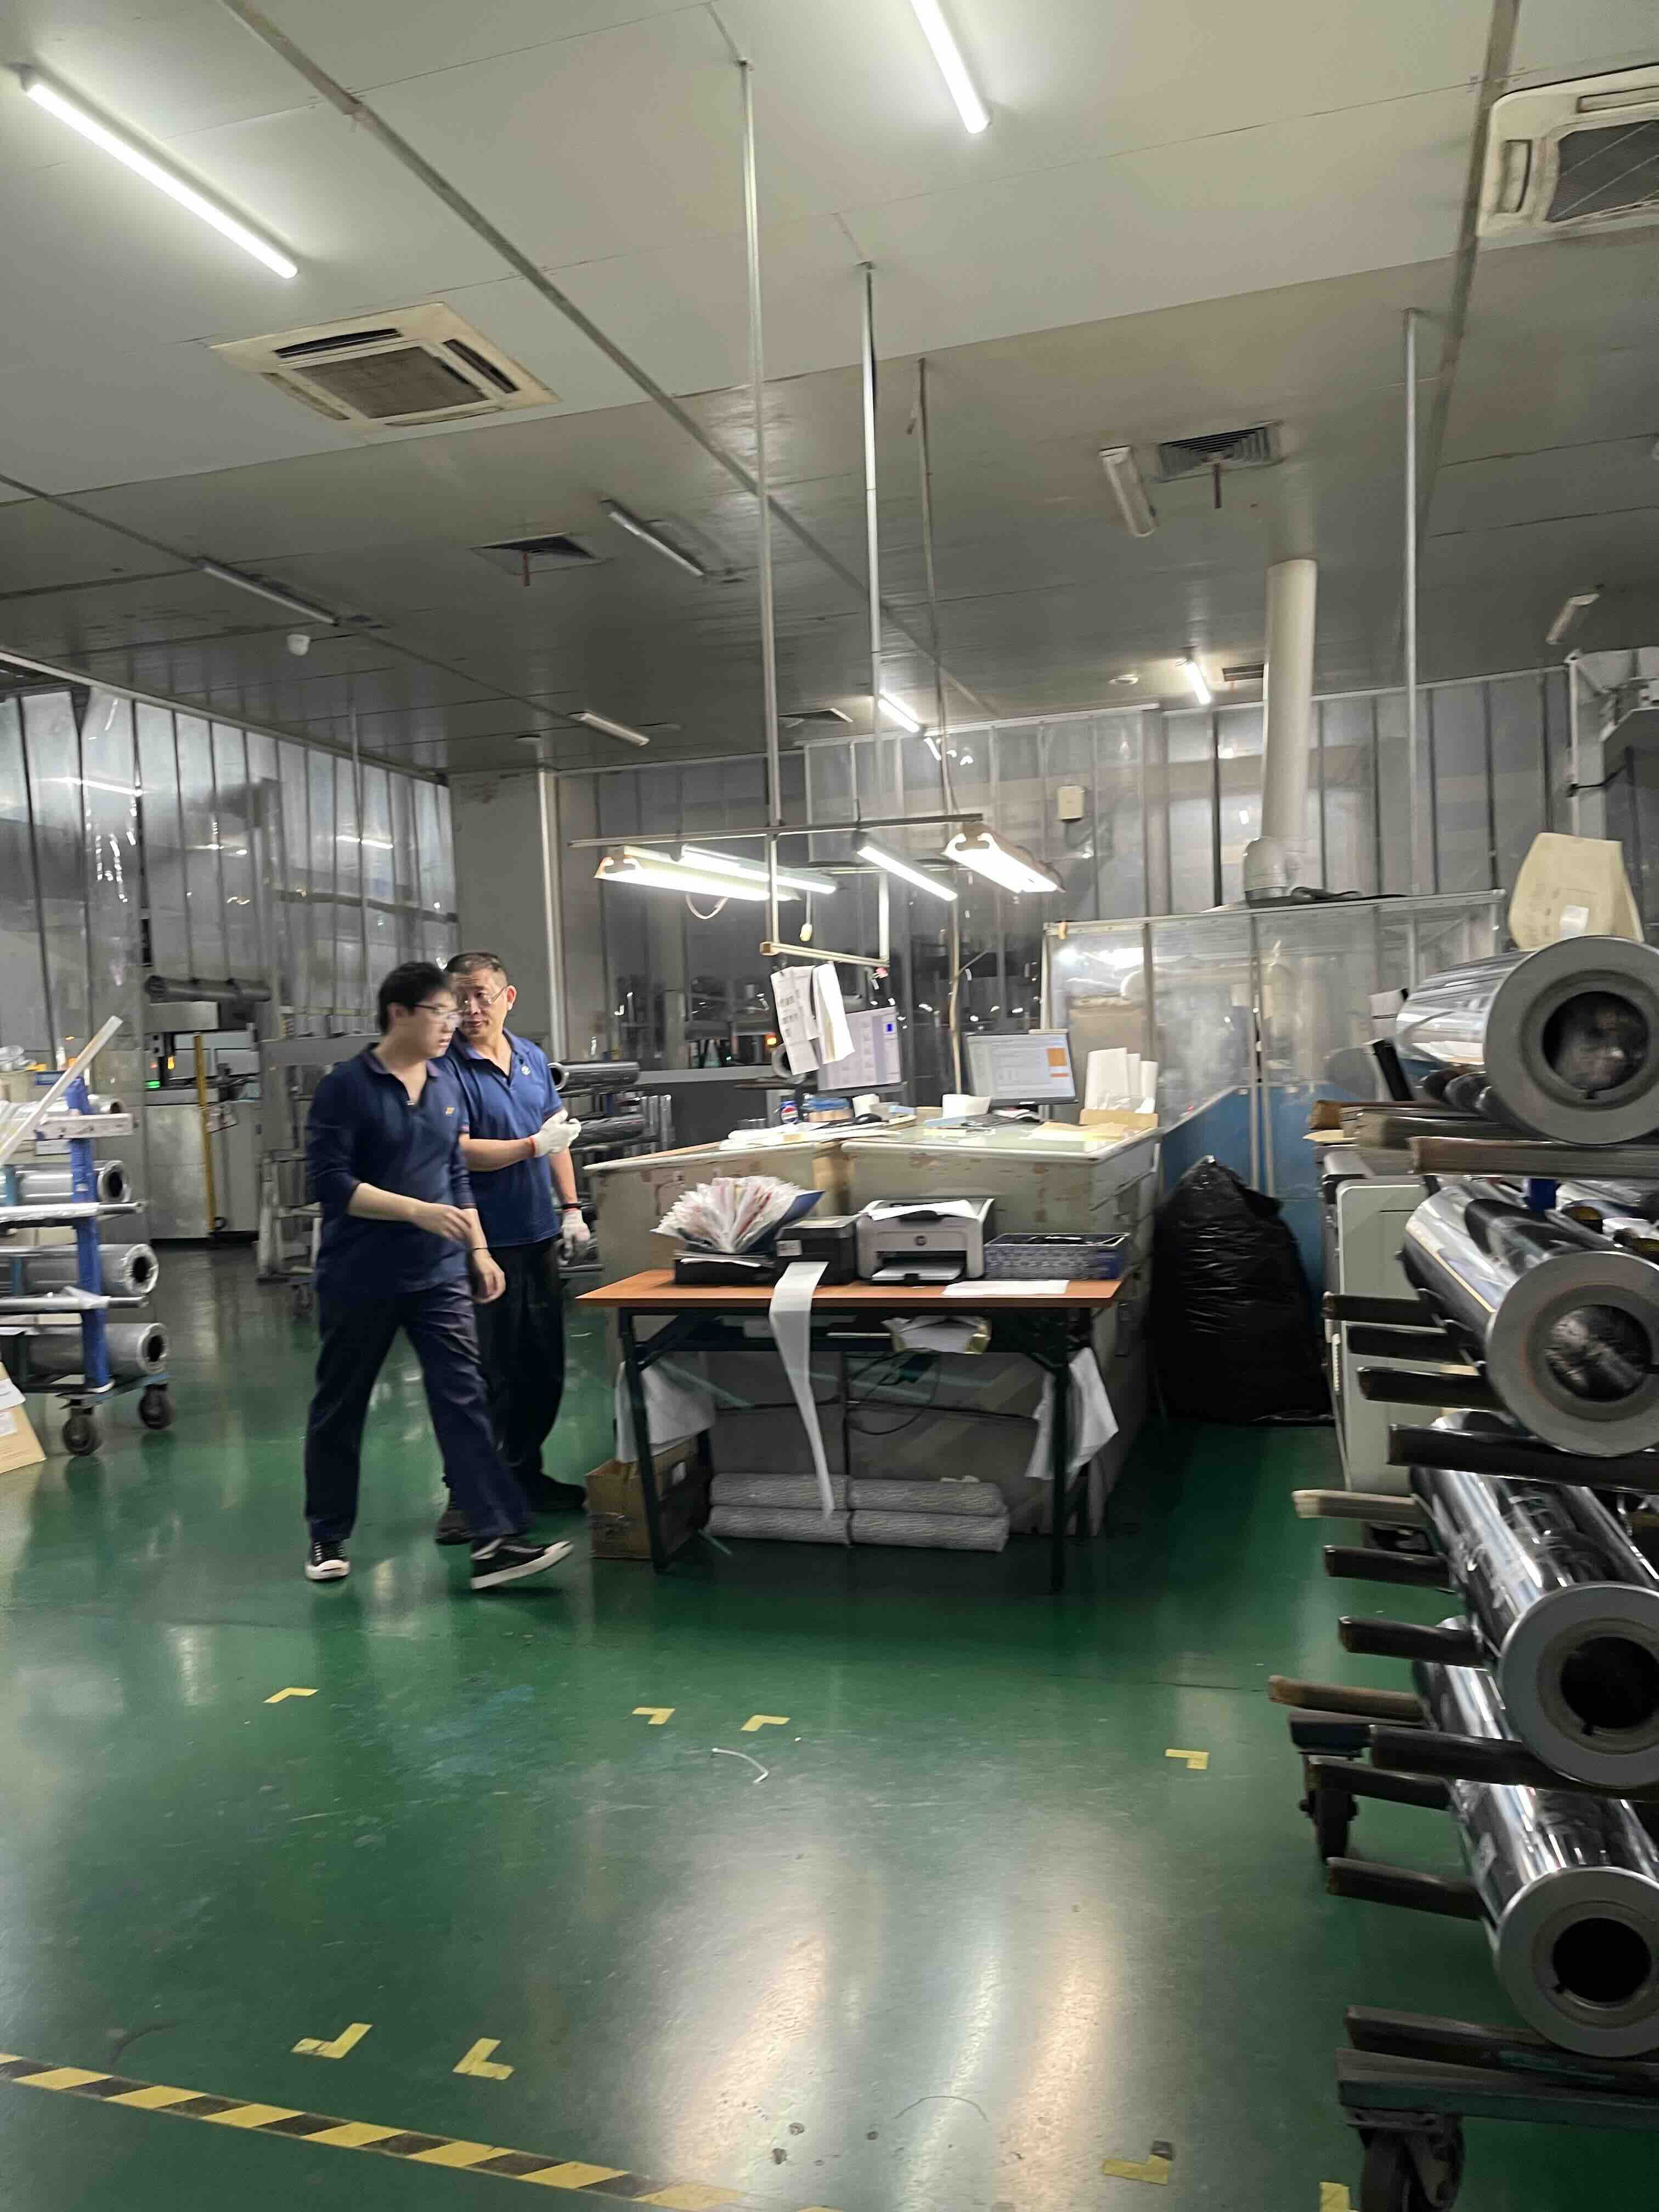
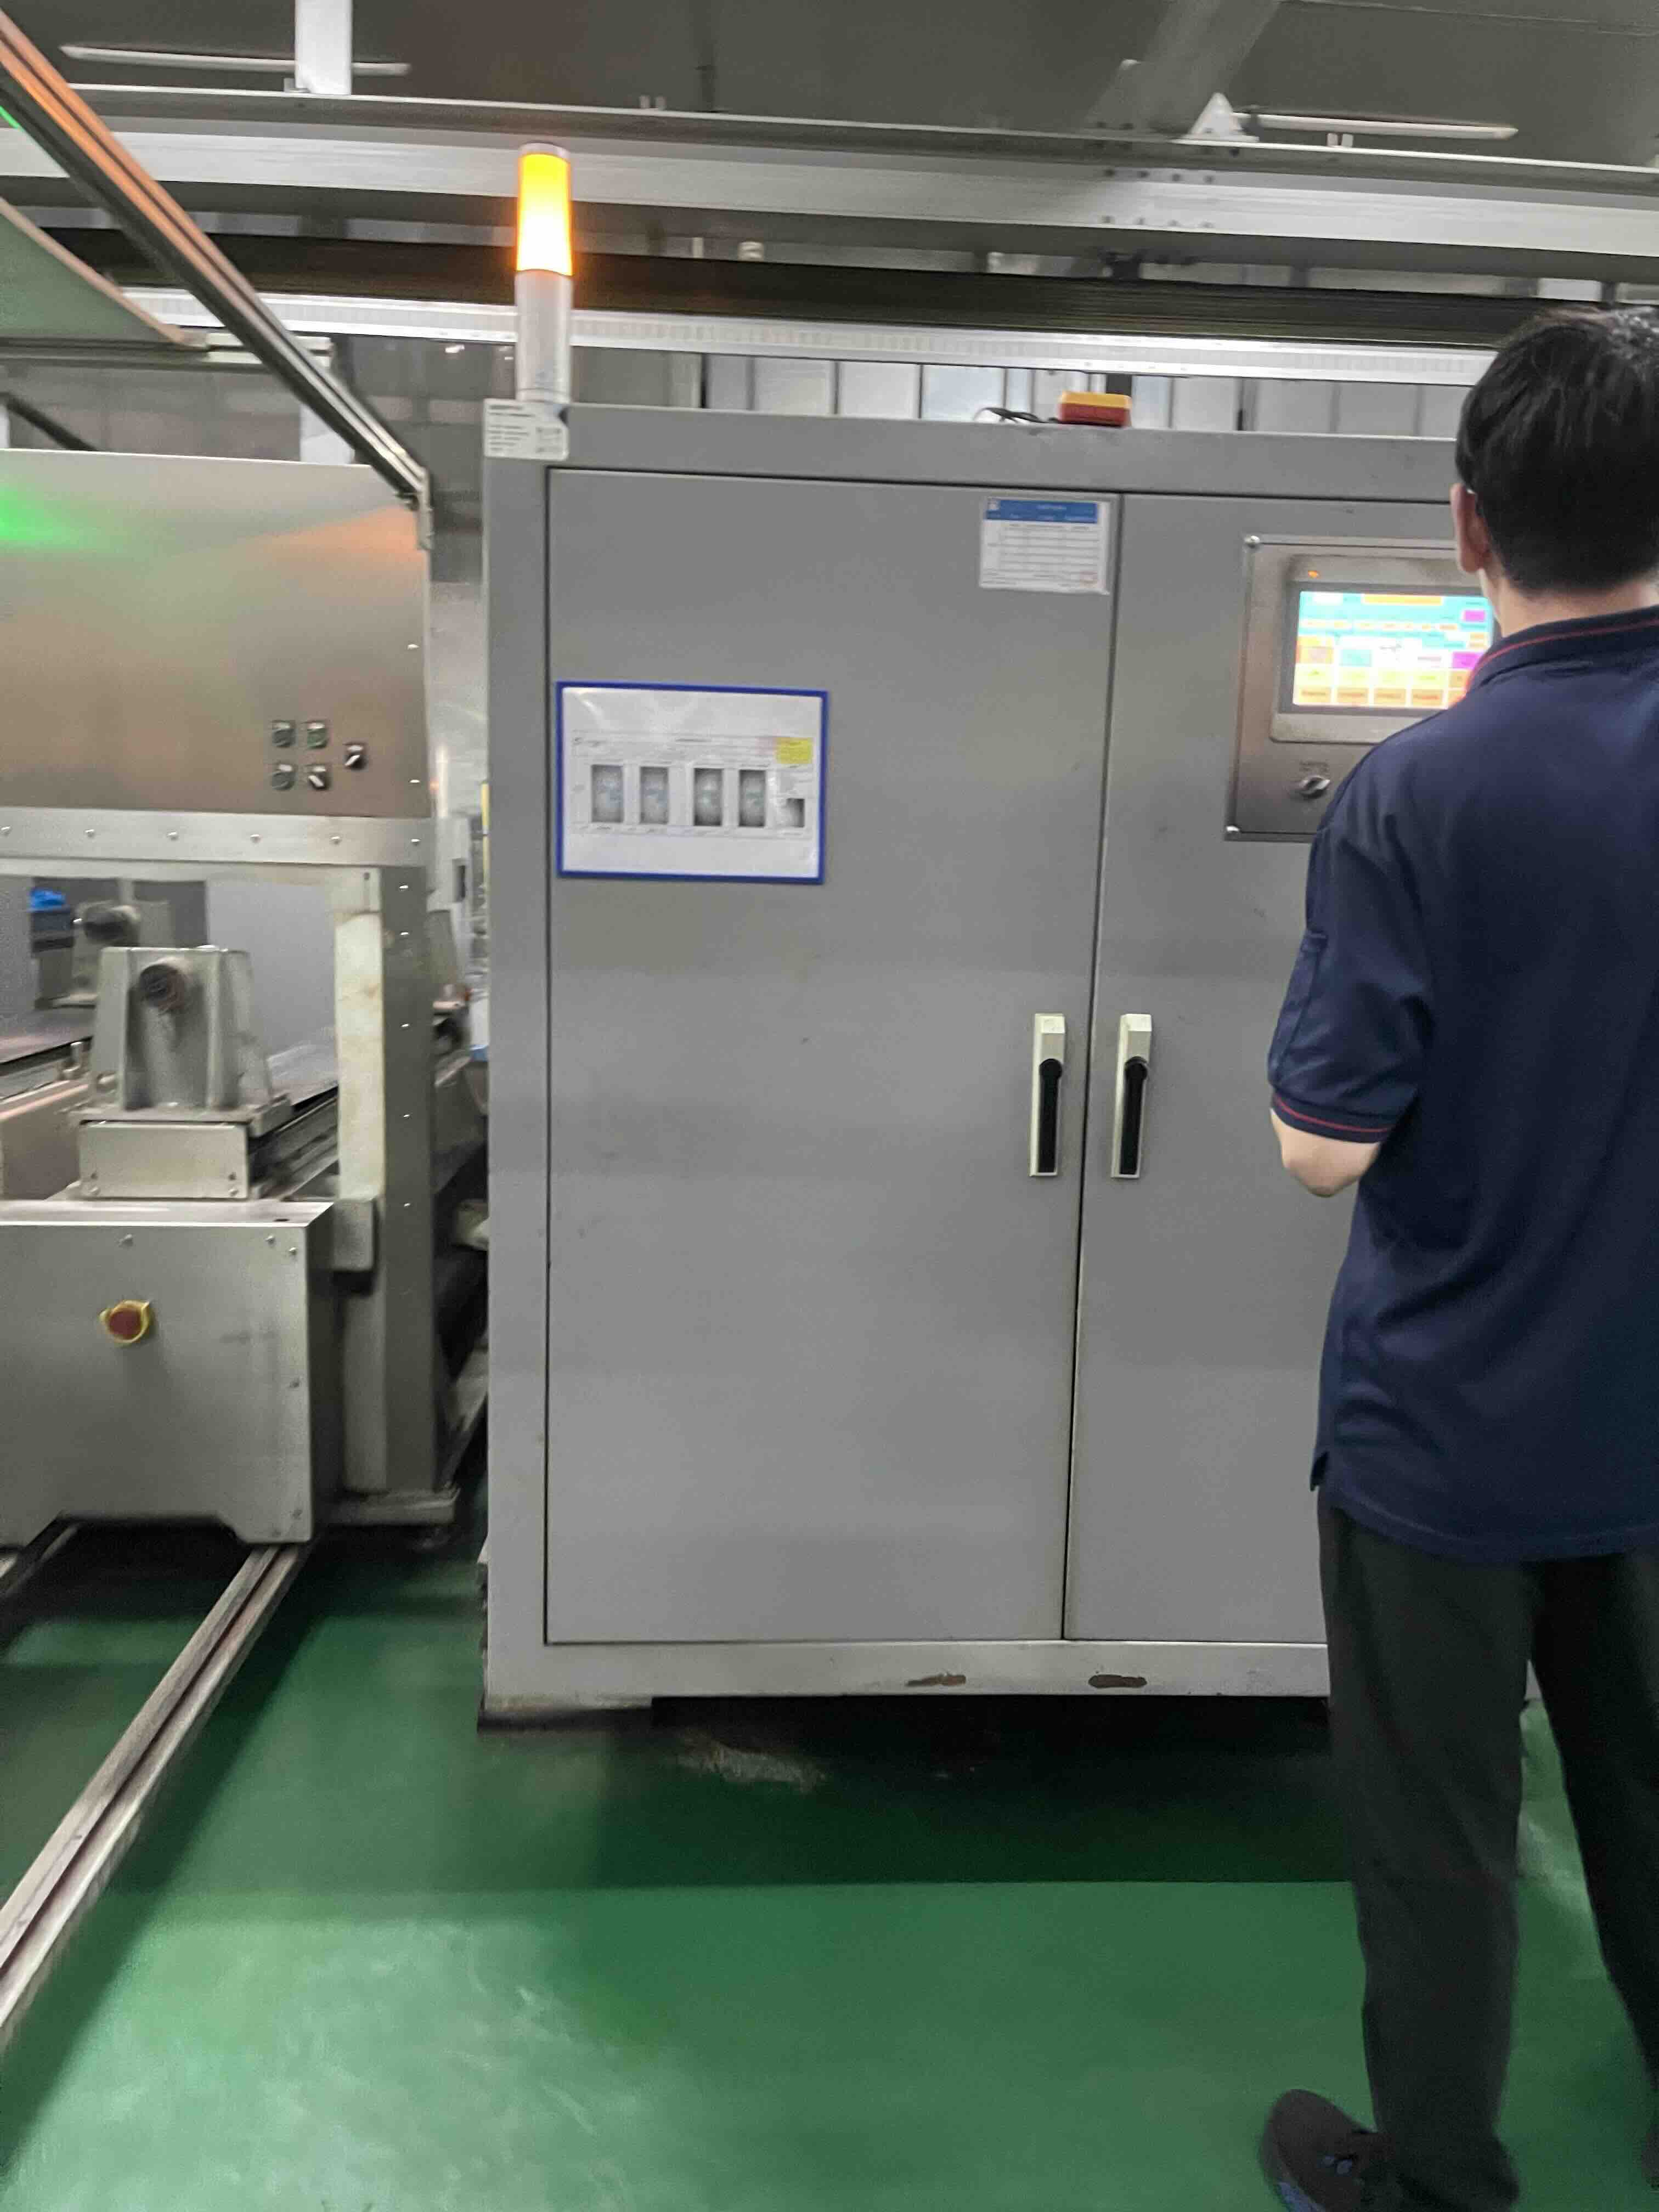
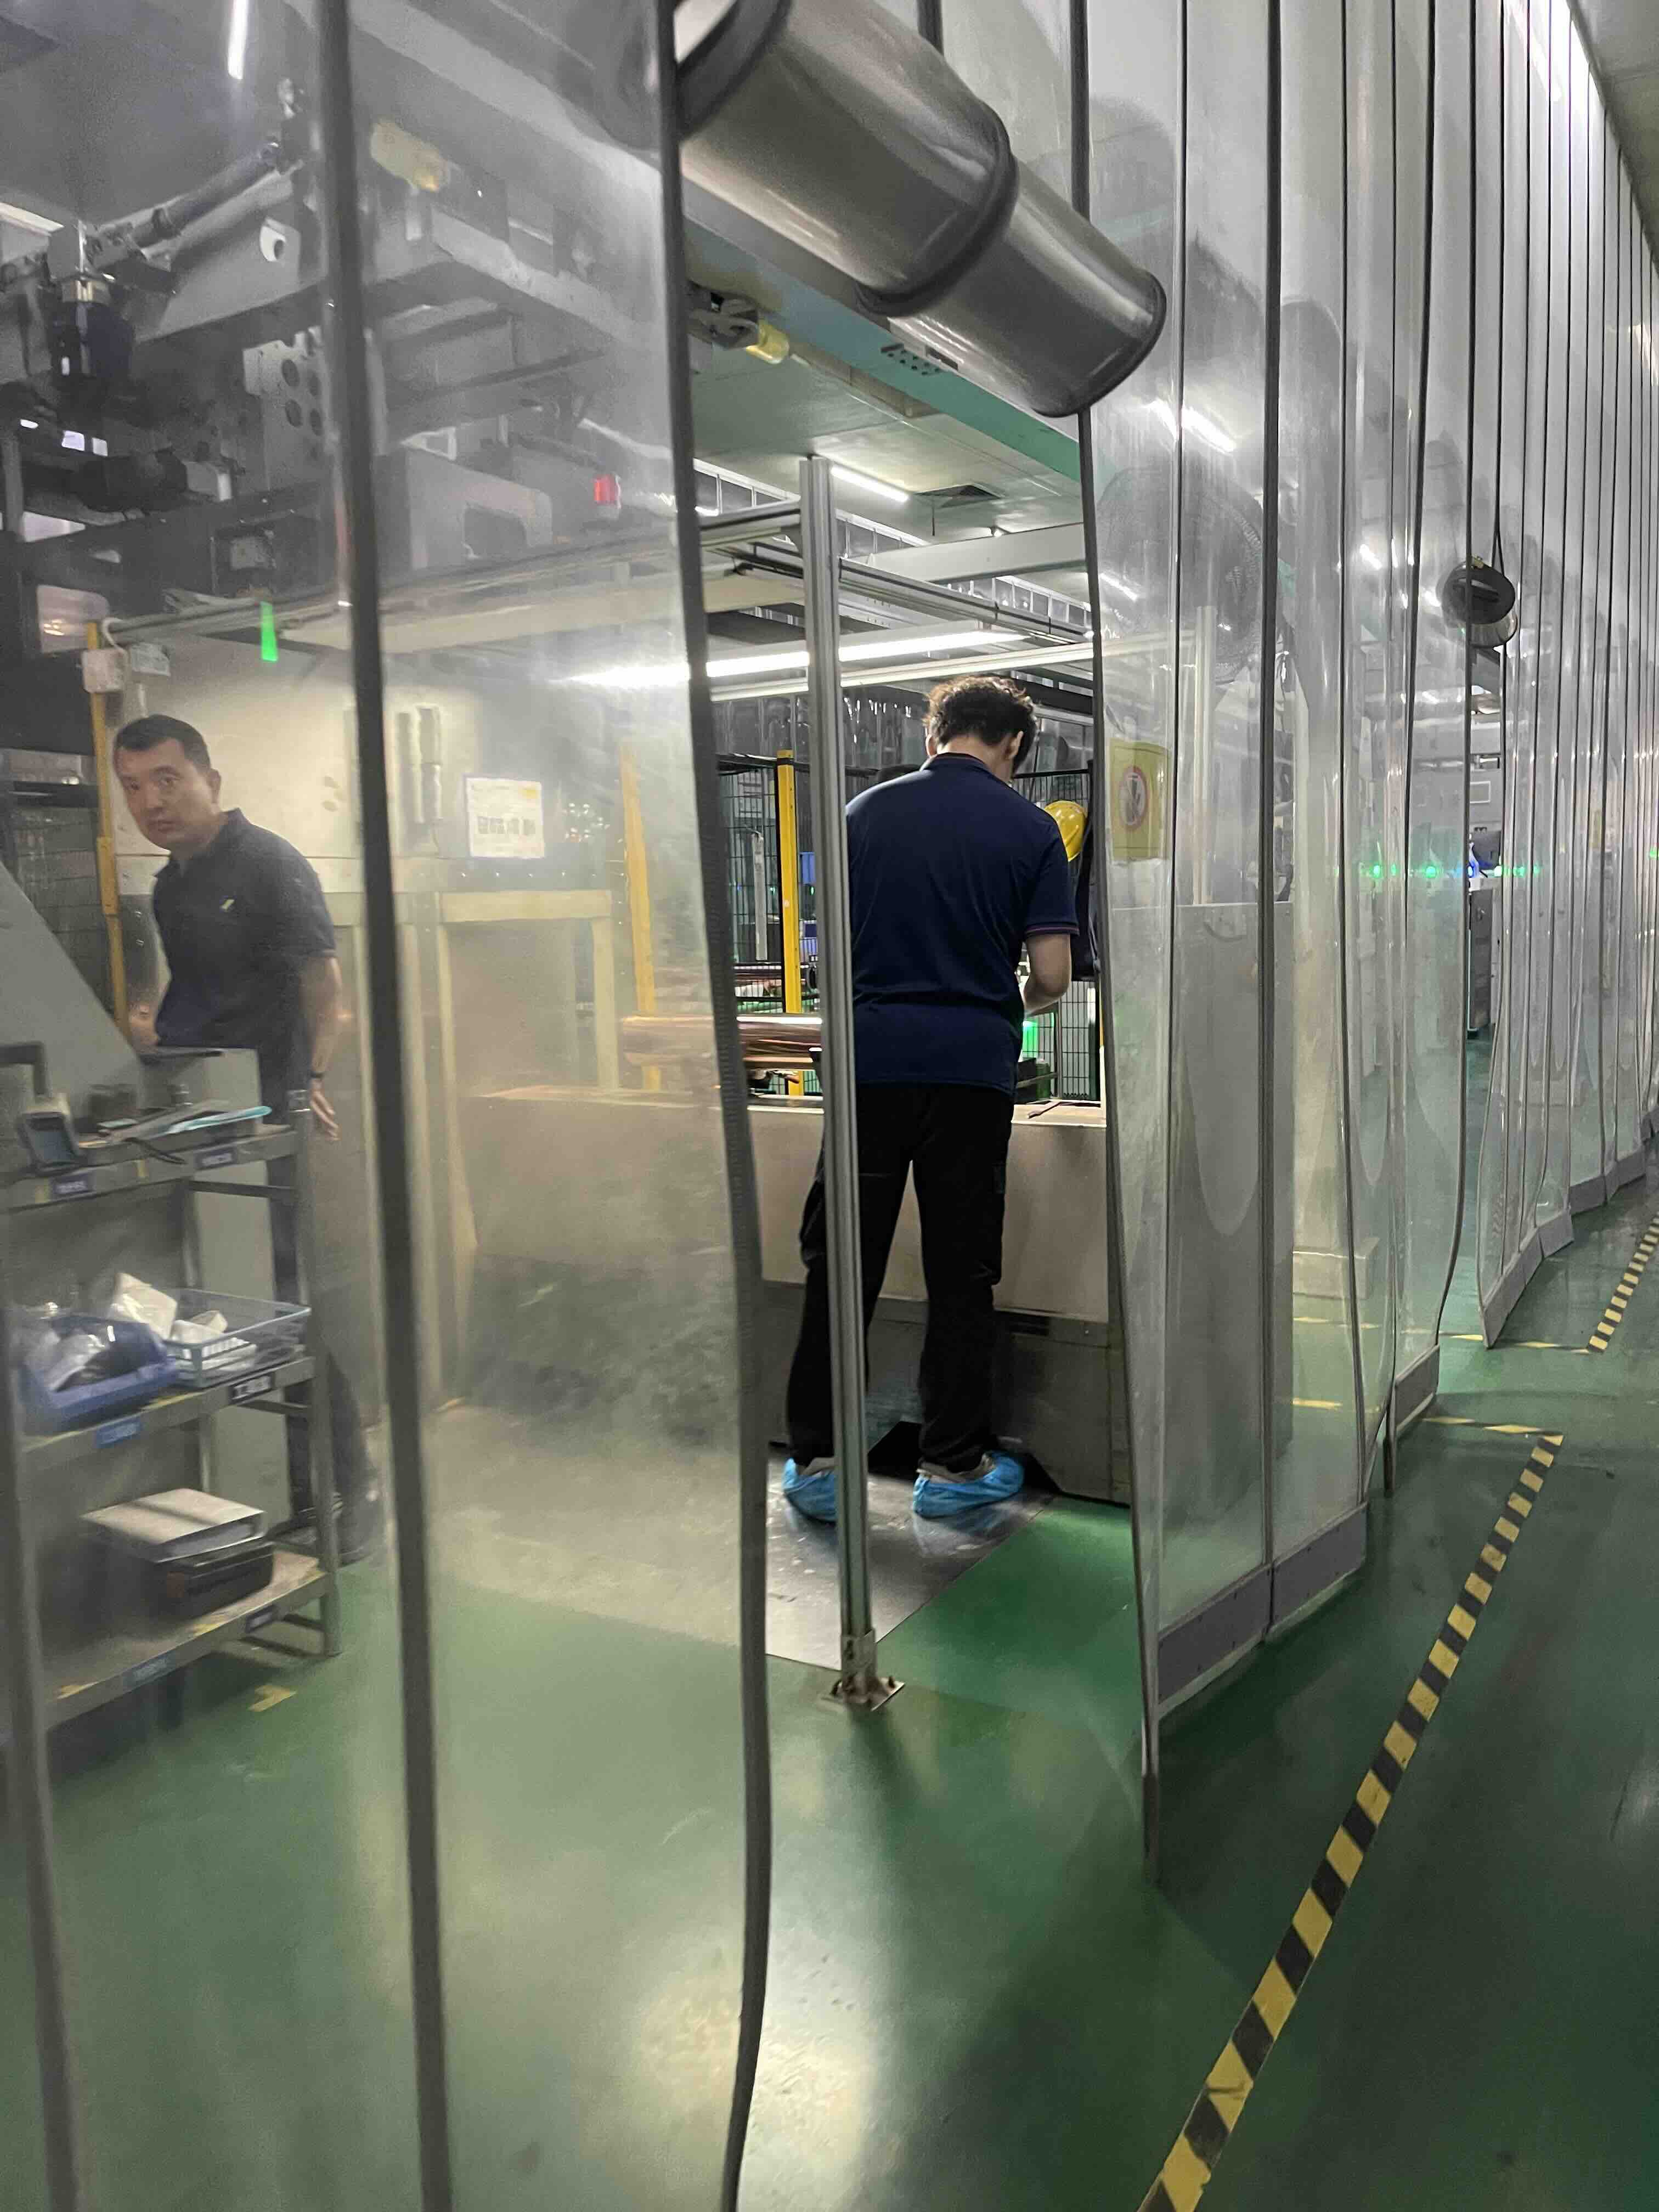
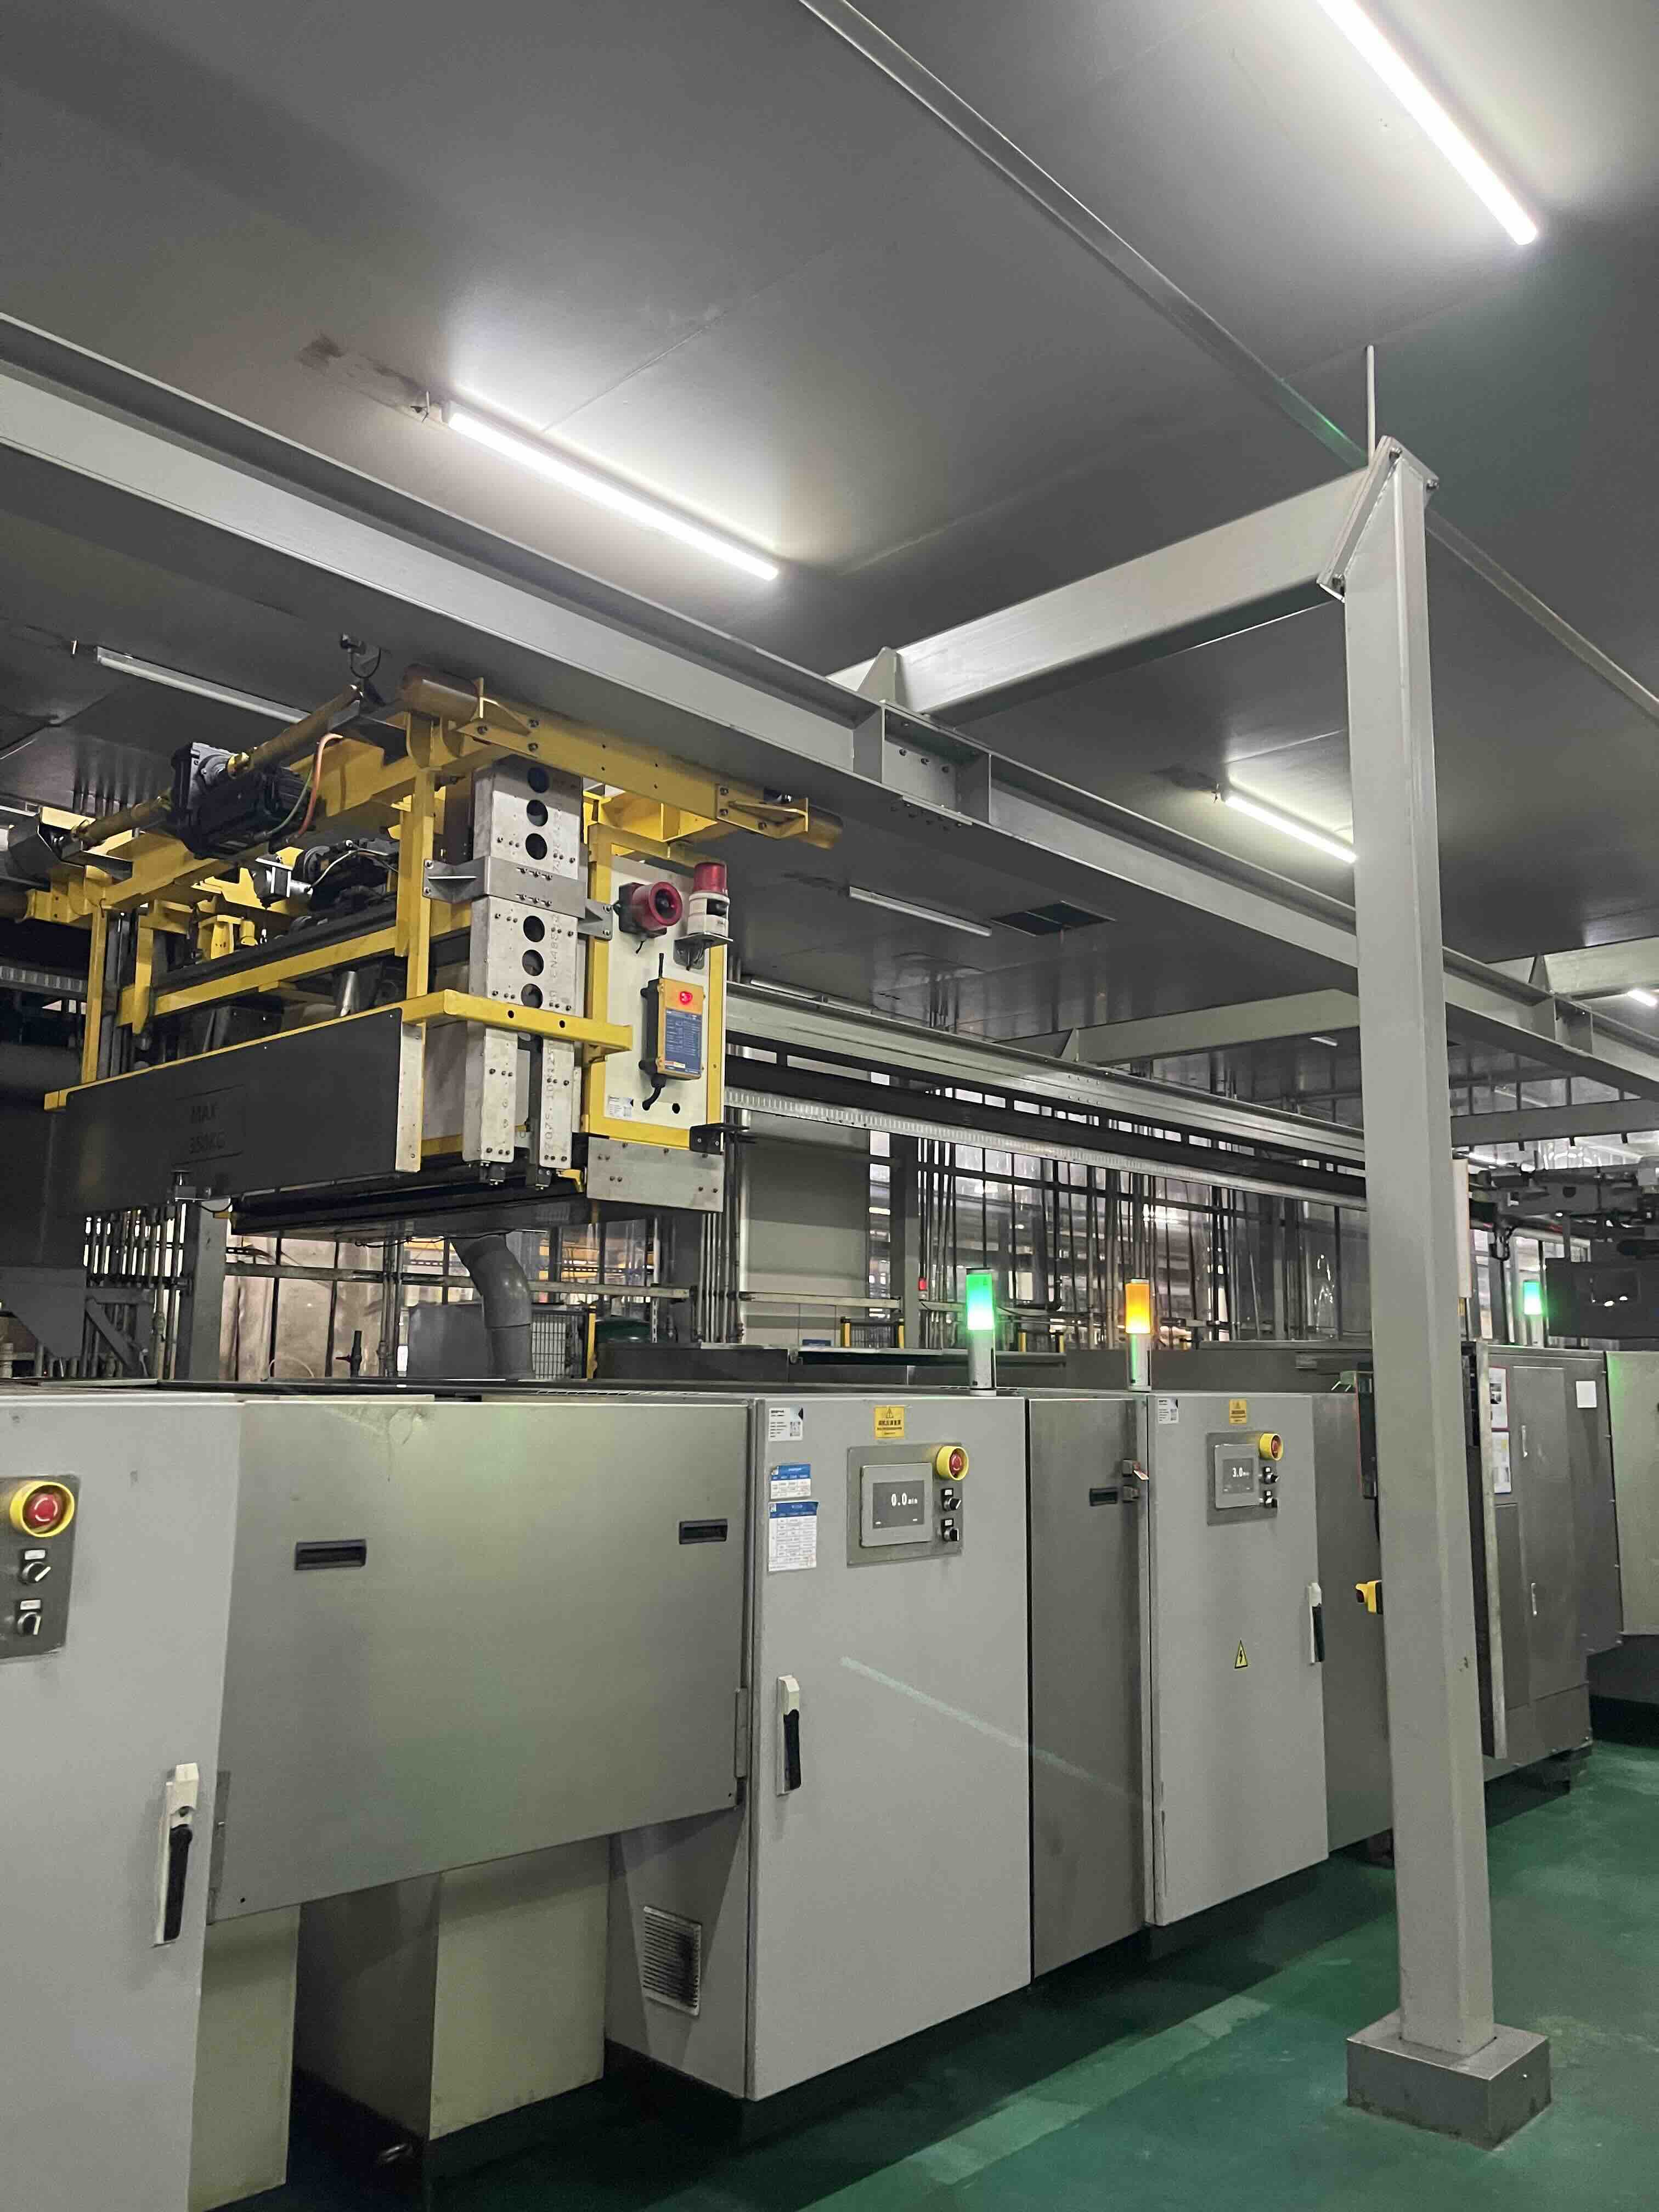
Gravure printing quality starts long before the press begins to run. Every color on a gravure-printed pouch is transferred from an engraved metal cylinder, and the condition of that cylinder affects how sharp the text looks, how clean the color is and how well the design lines up. At BioPouches, we buy our gravure printing cylinders from Yuncheng, a specialist cylinder manufacturer, and we recently visited their production facility.
This article follows a cylinder from bare steel to the finished, engraved tool that goes onto our press. Where we describe what is in the photographs, we say so. Where we explain how gravure cylinders are generally made, we keep that separate, so you can tell what we saw from the background.
Why Does Gravure Cylinder Manufacturing Matter?
In rotogravure printing, the artwork is not on a plate or in a digital file at the moment of printing. It is engraved into the surface of a cylinder as thousands of tiny recessed cells. During printing, those cells fill with ink, a blade wipes the surface clean, and the ink left in the cells transfers to the packaging film.
That means the cylinder carries the design itself. If the surface is uneven, if cells are engraved inconsistently, or if the cylinder is slightly out of size, the problem shows up on every pouch printed from it. Fine text can fill in, gradients can look patchy, and colors can drift out of register.
Cylinders are only one part of print quality. Inks, film, press setup, registration control, operators and inspection all matter as well. But a poorly made cylinder is a problem no amount of press adjustment can fully correct, which is why we choose an experienced specialist to make them.
GRAVURE CYLINDER / 01
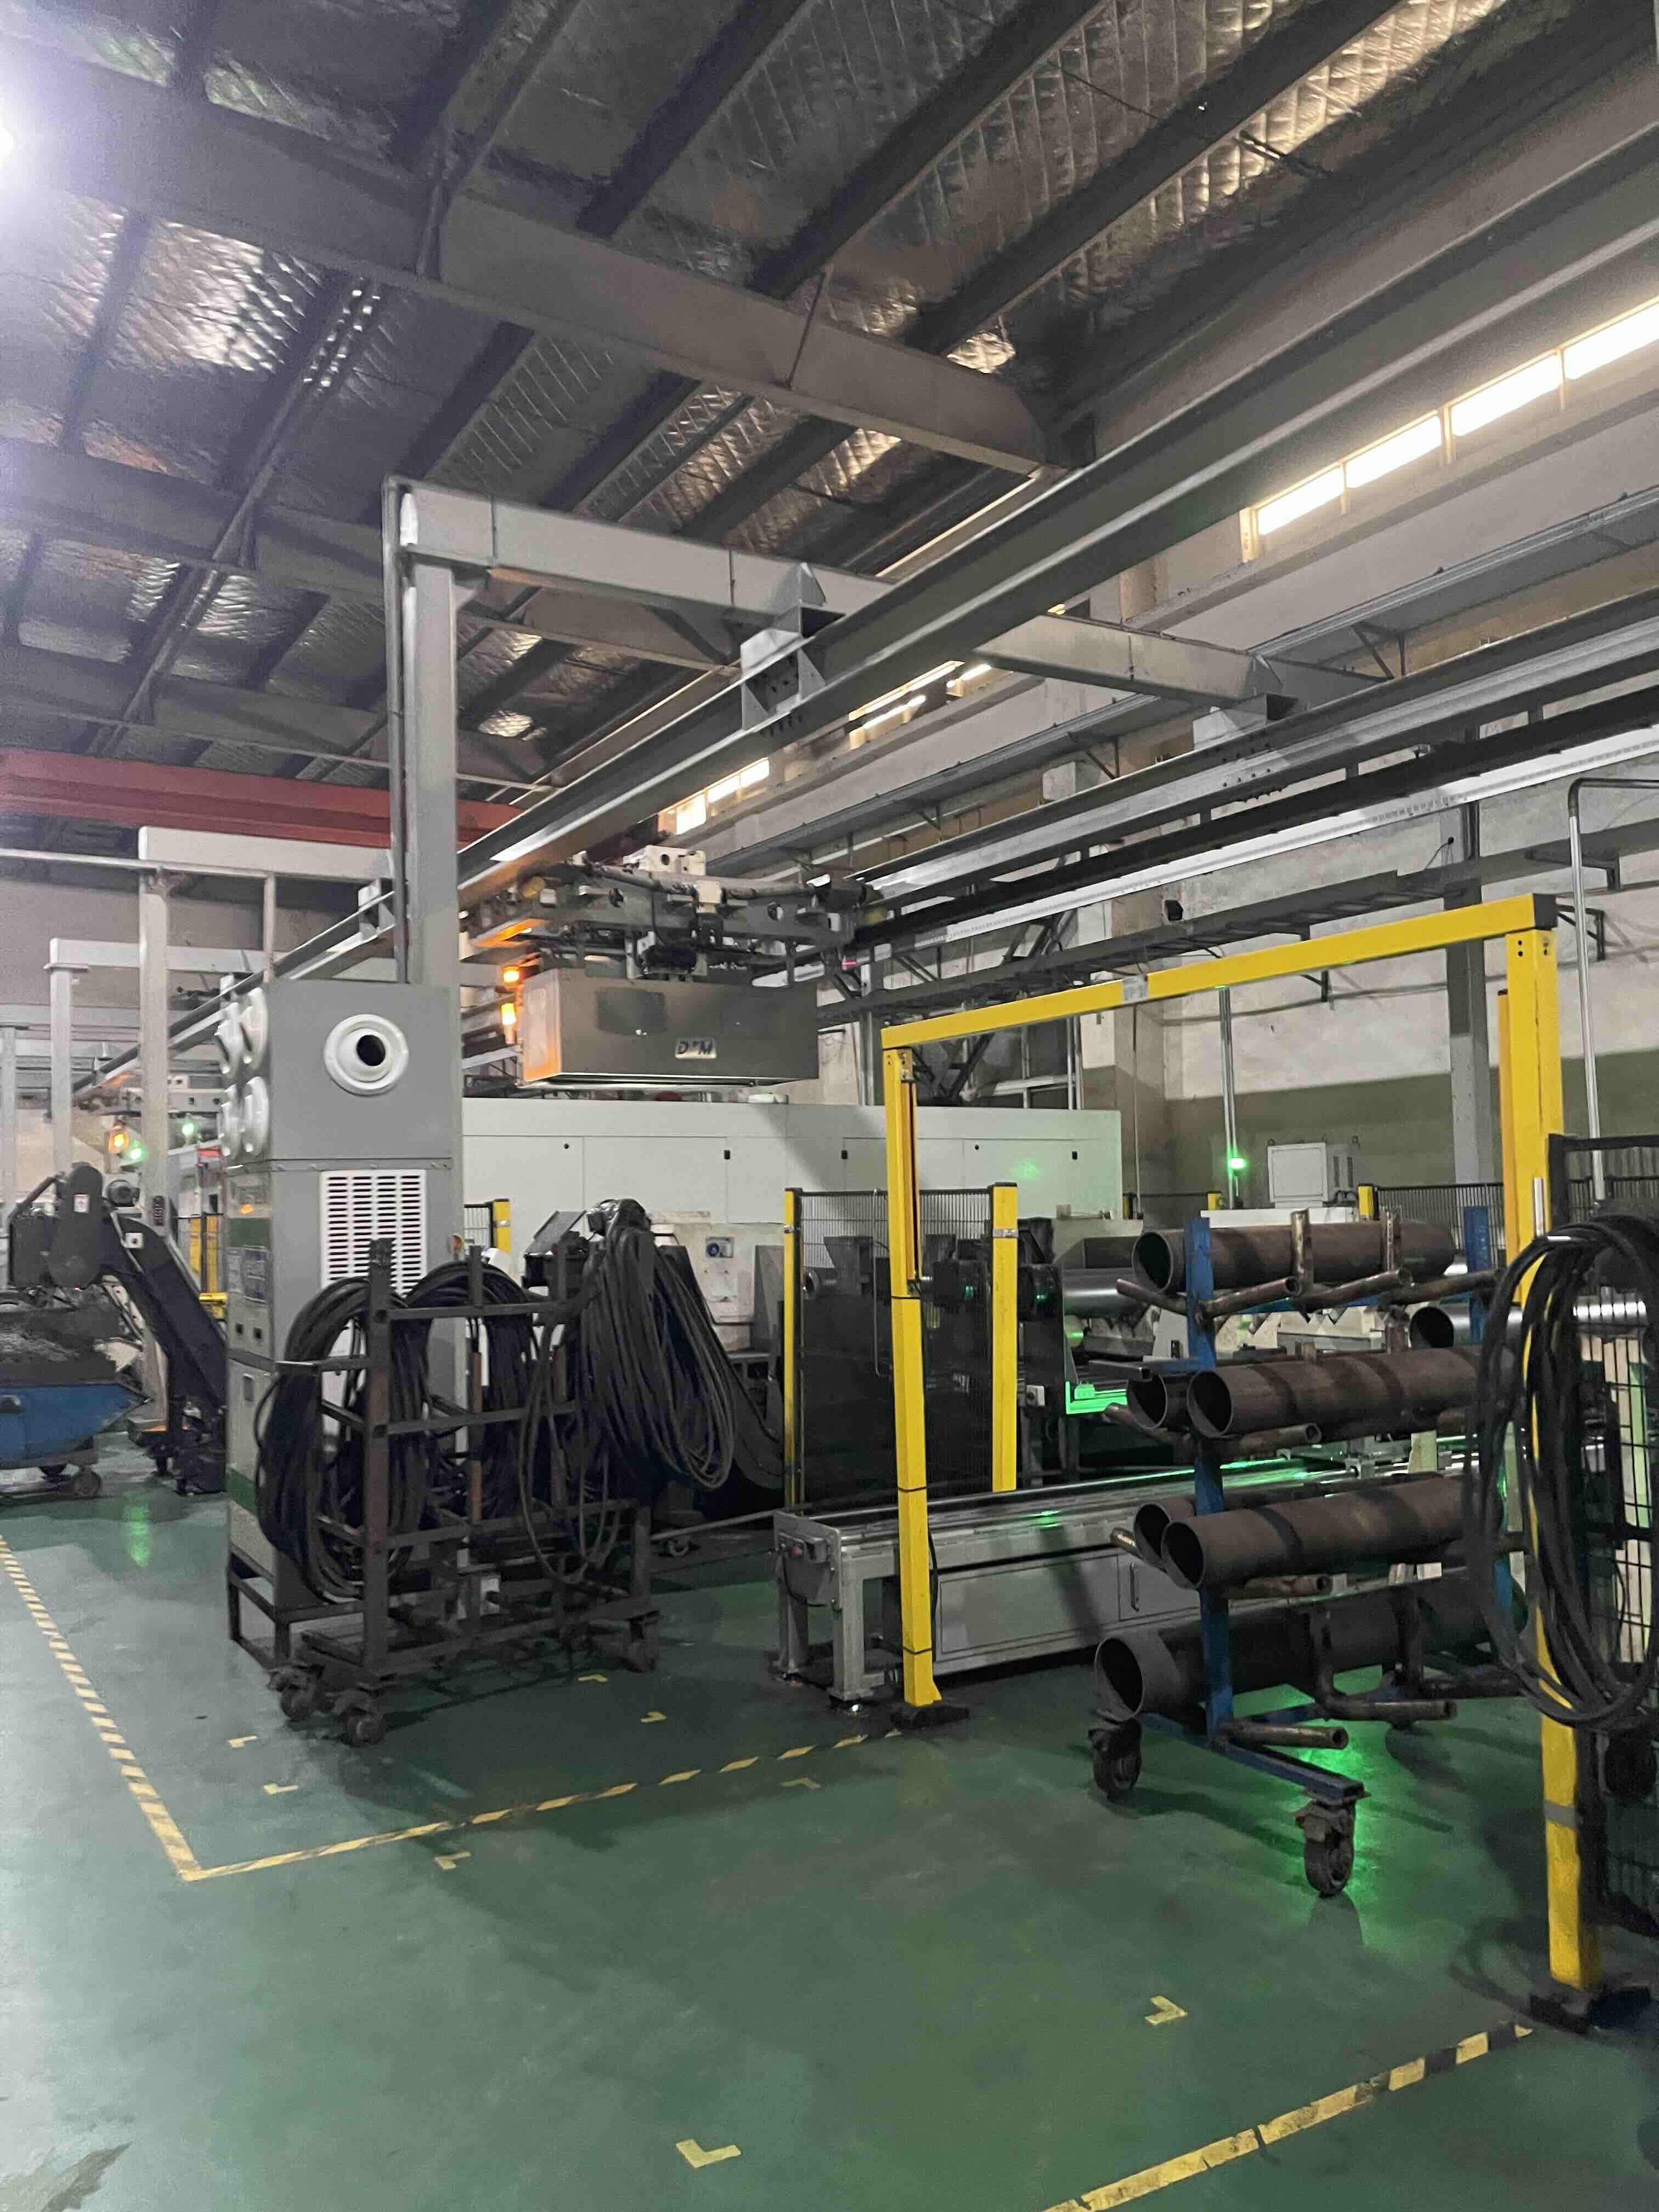
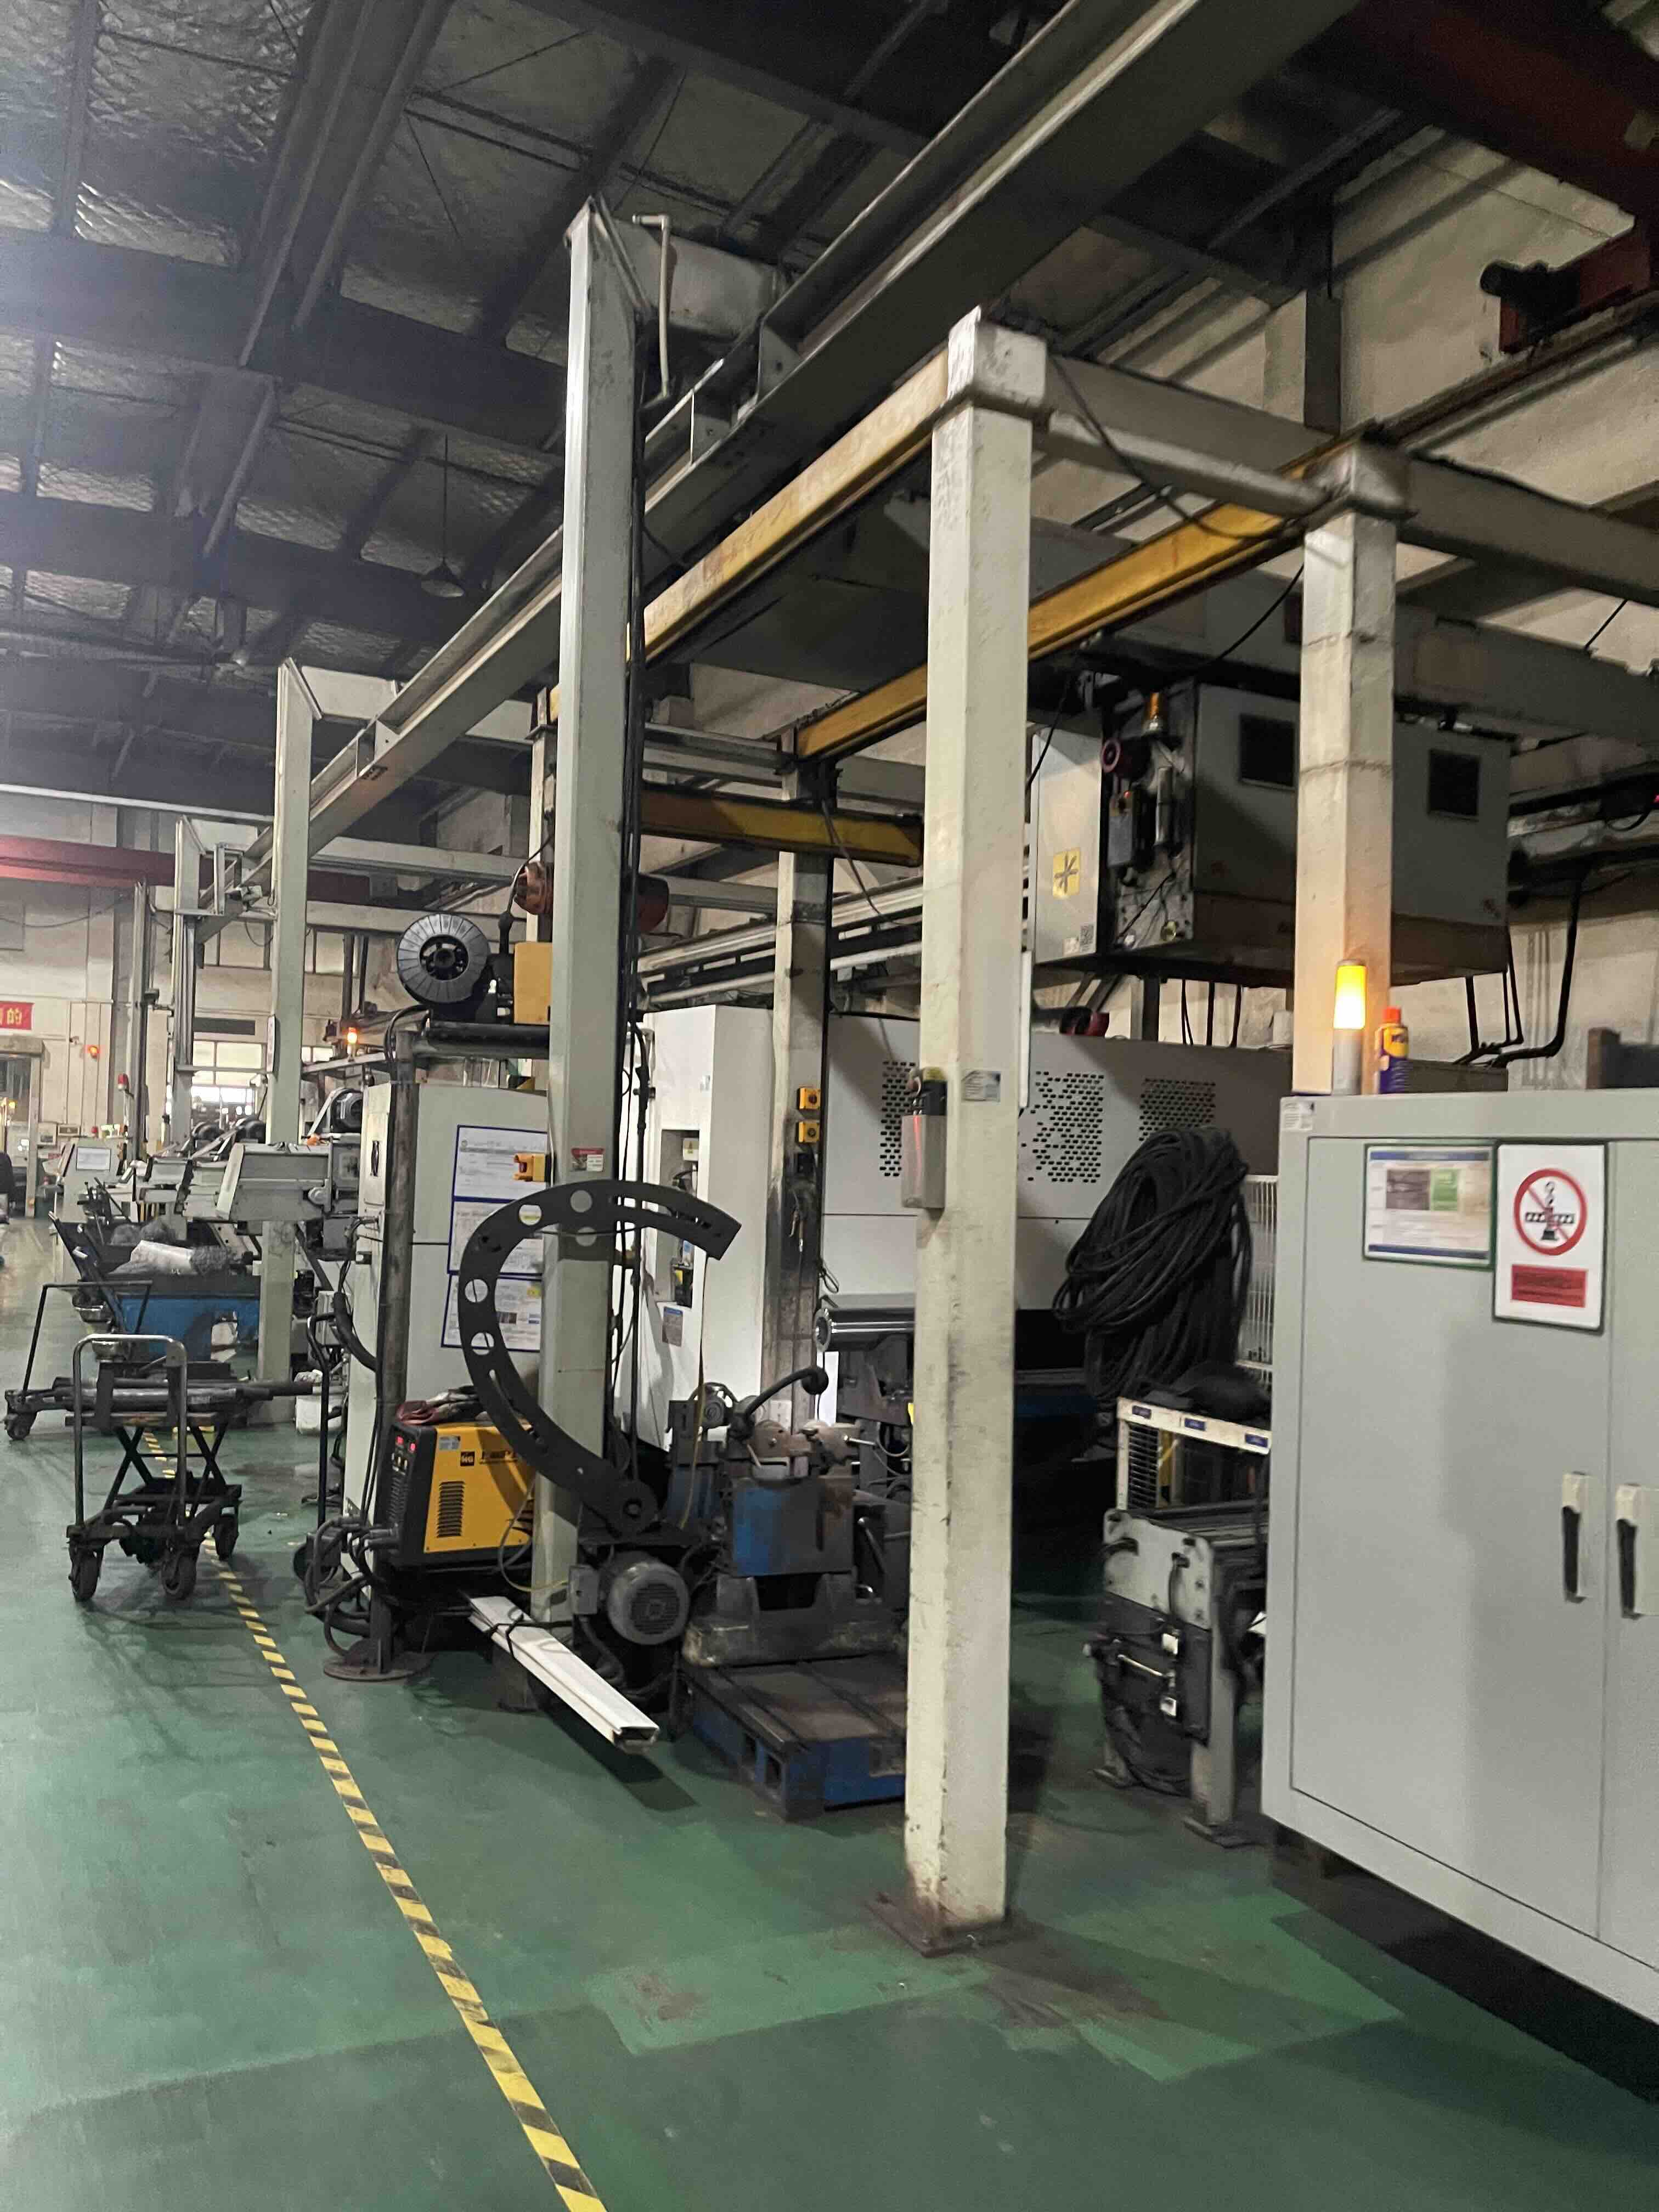
Steel Cylinder Preparation
Every gravure cylinder starts as a steel base. The base is made to the dimensions the printing job needs: its face length has to suit the press, and its circumference sets the print repeat, the length of one design before it starts again on the film. Getting this right at the start matters, because every later layer is built on top of it.
Before plating, the steel surface is cleaned and prepared so the next layers bond properly. Any dirt, oil or surface damage left at this stage can cause problems later in plating and engraving.
GRAVURE CYLINDER / 02
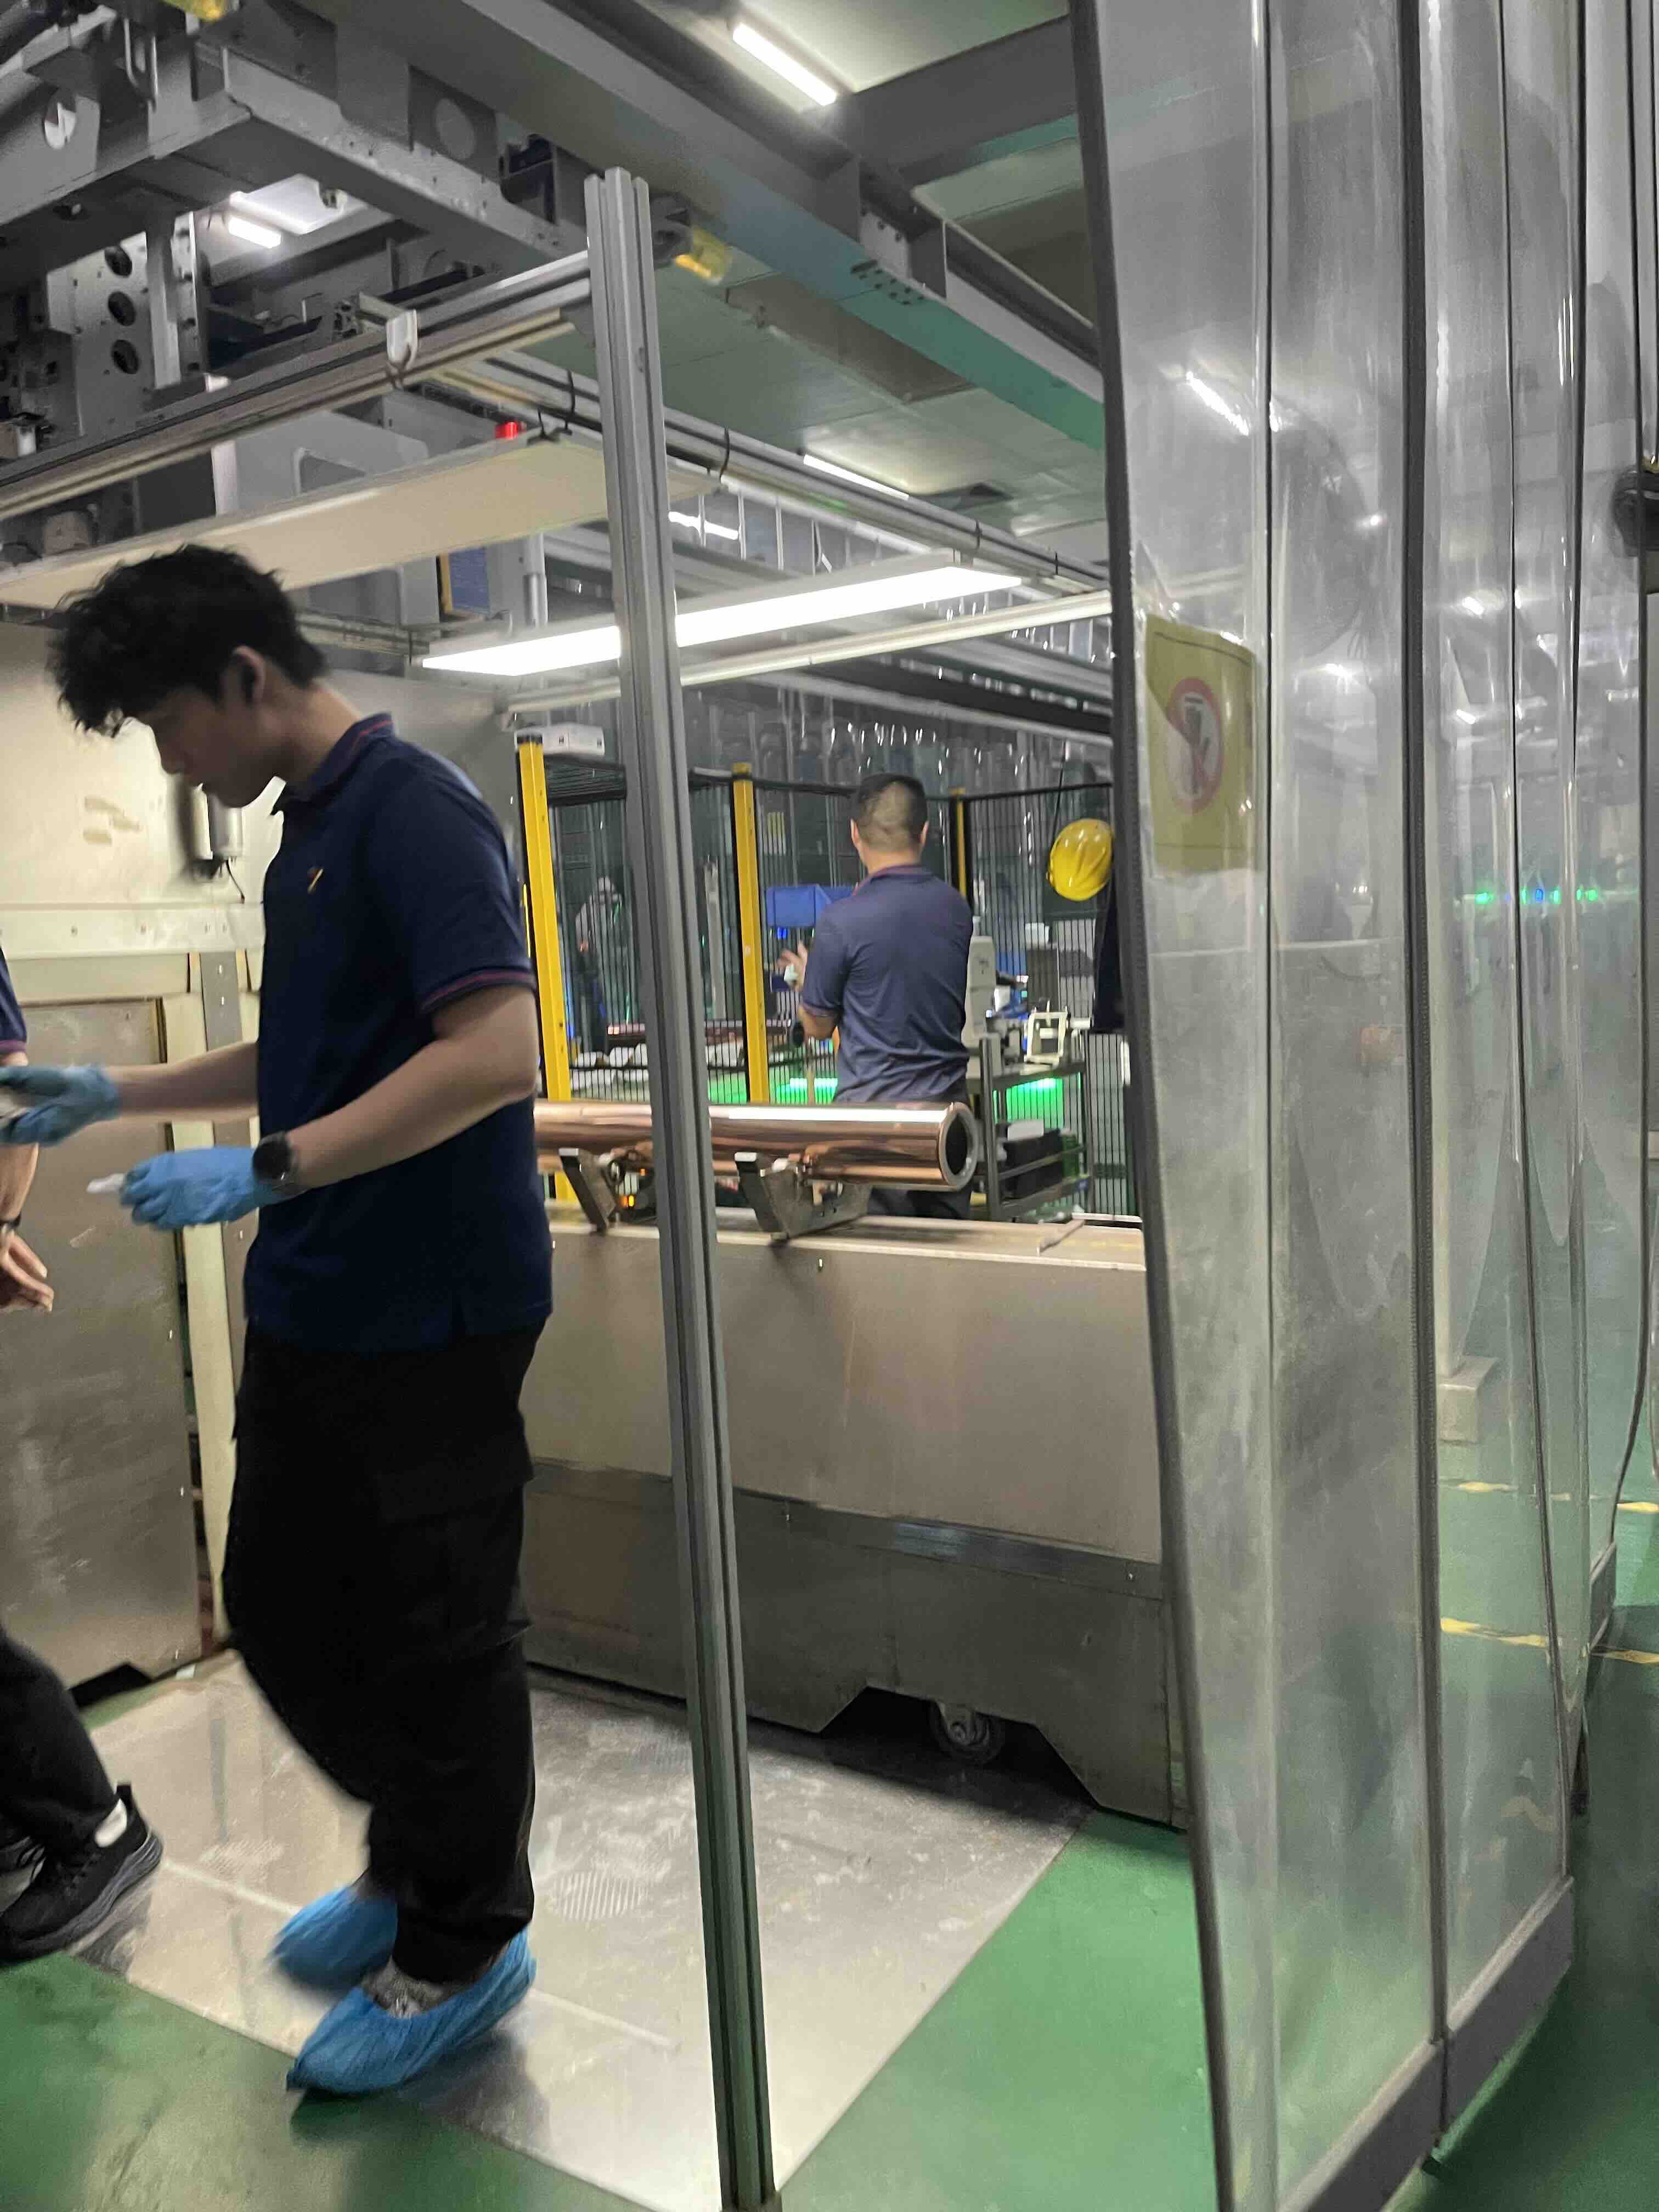
Copper Plating
The steel base is not engraved directly. Instead, a layer of copper is electroplated onto it. Copper is the working surface of a gravure cylinder: it is soft enough to engrave cleanly, yet stable enough to hold fine cells accurately.
The copper layer also makes cylinders reusable in principle. When a design is no longer needed, the old engraved layer can be removed and the cylinder can be re-plated and engraved with new artwork.
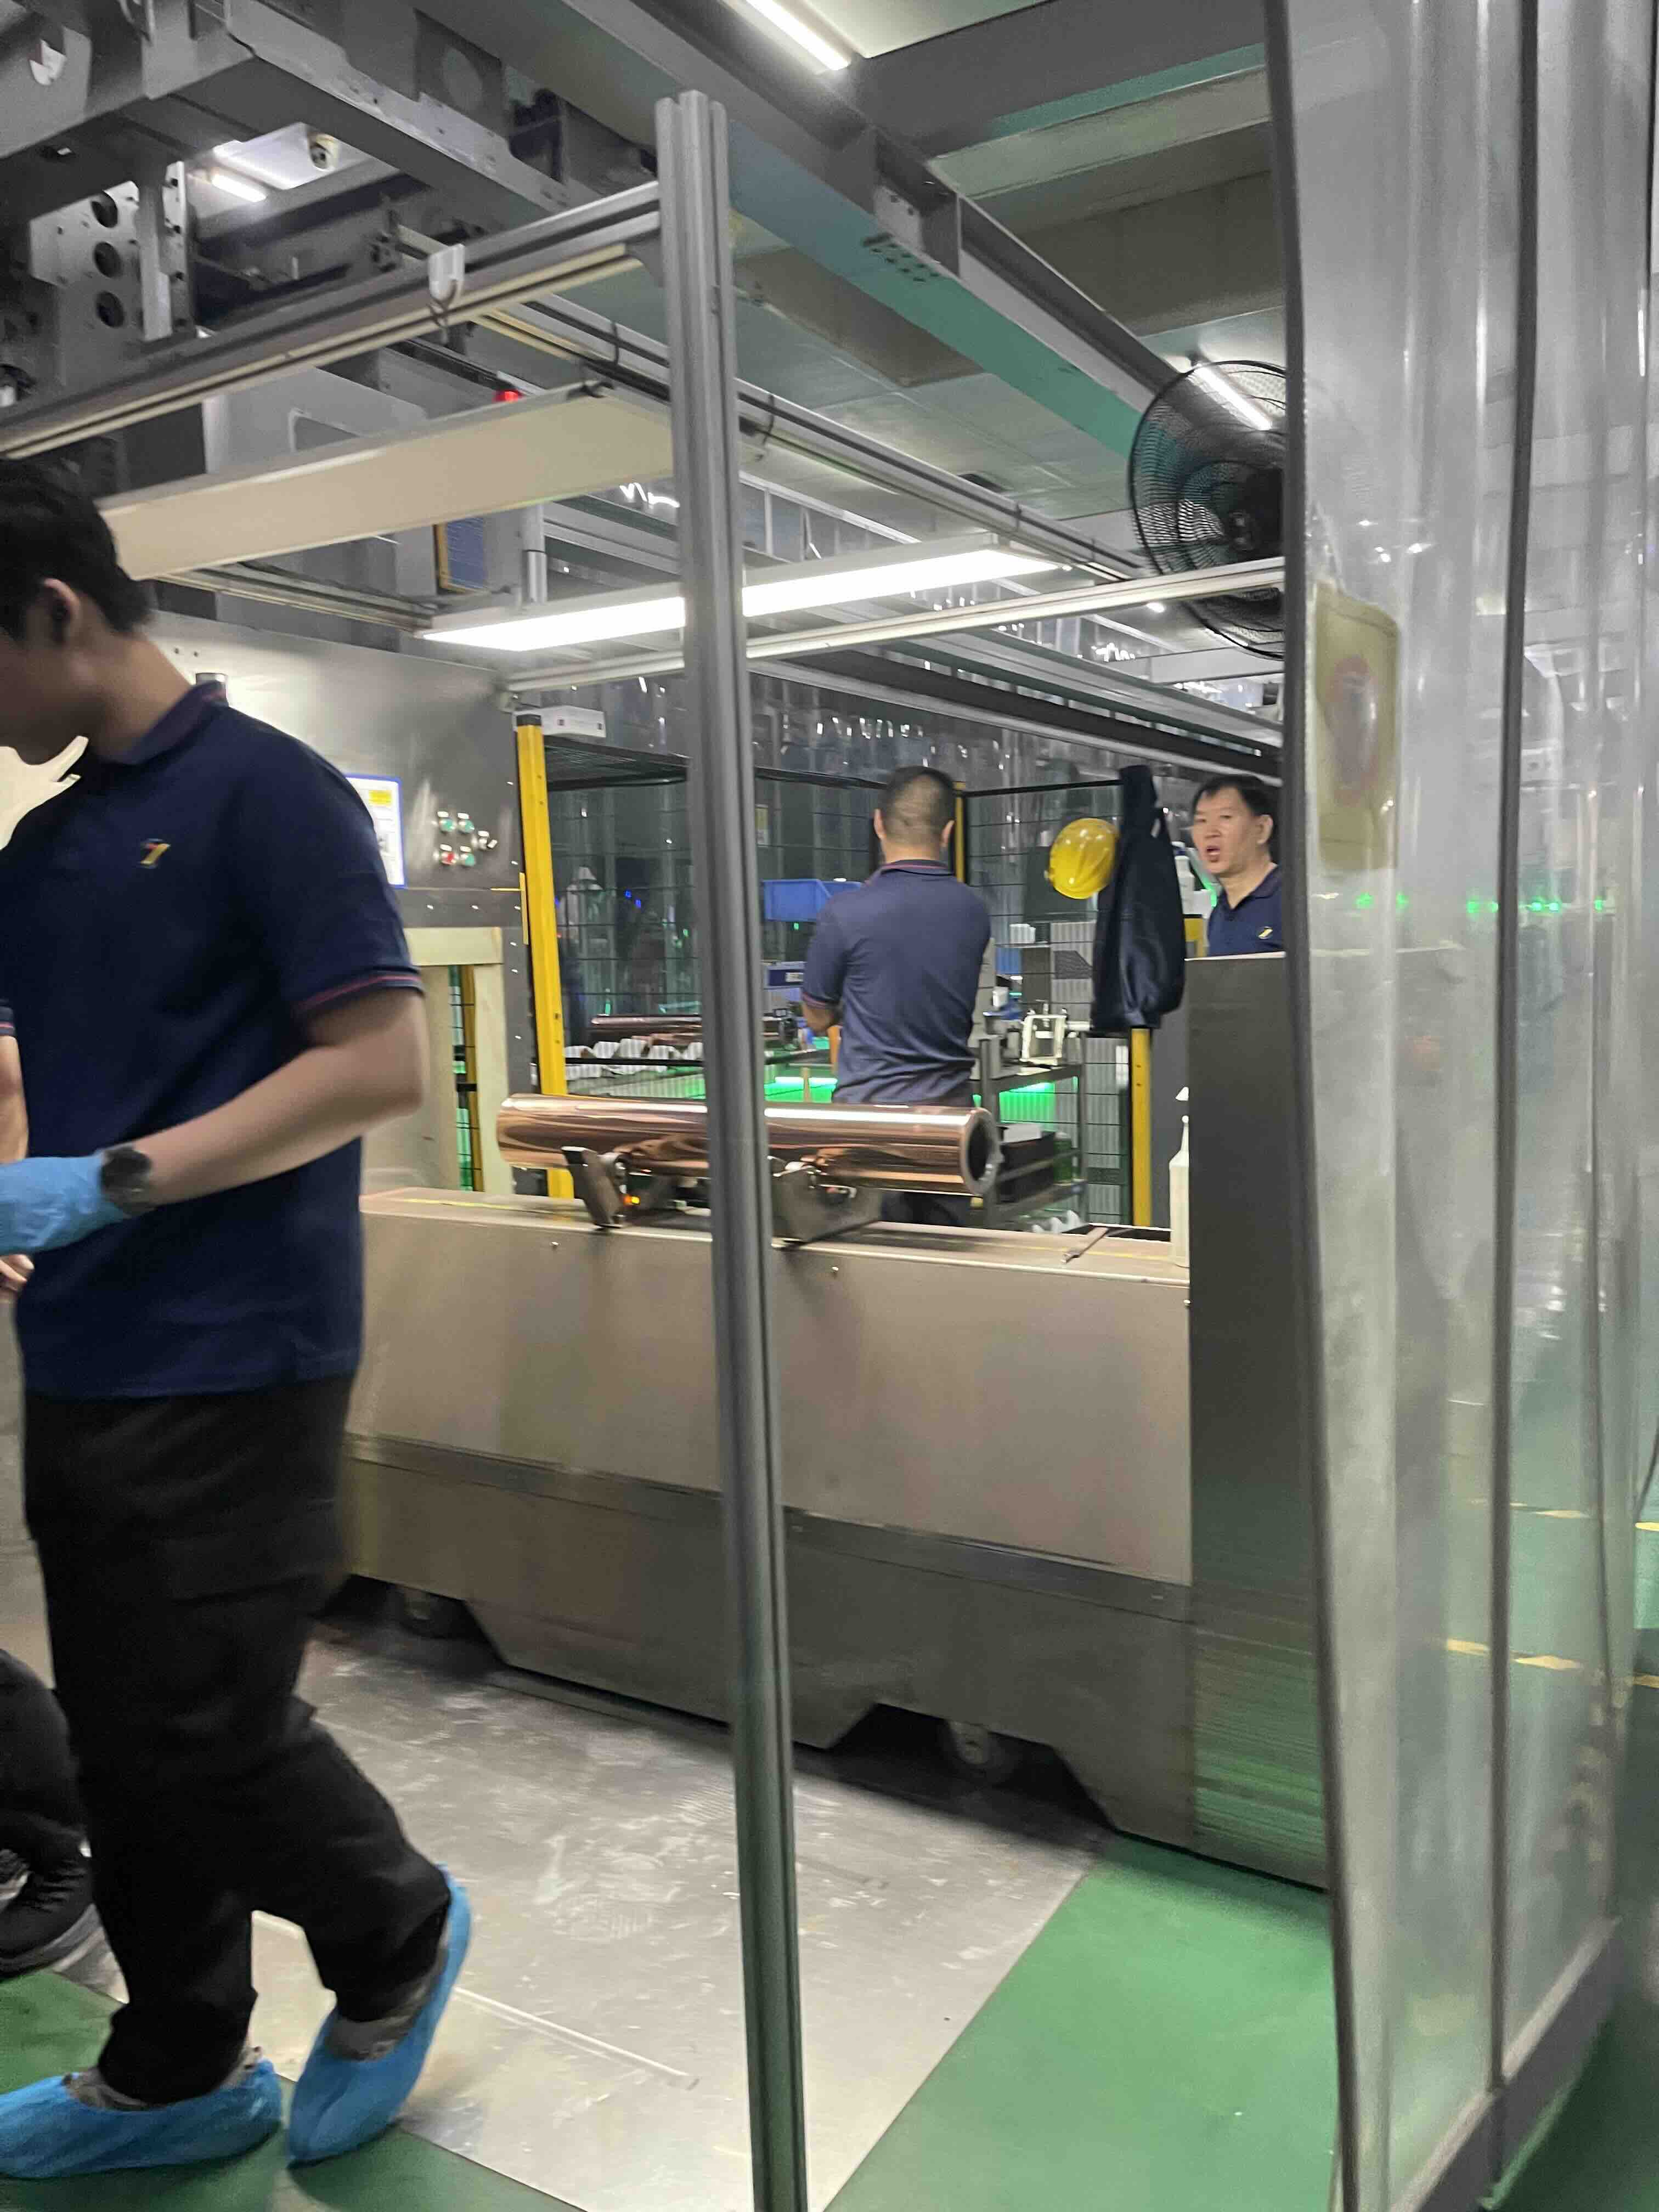
GRAVURE CYLINDER / 03
Grinding and Polishing
After plating, the copper surface is ground and polished. Grinding brings the cylinder to its exact diameter and makes it round and even along its full length. Polishing then gives the surface the smooth, consistent finish engraving needs.
This step is easy to overlook, but engraving can only be as accurate as the surface it is cut into. A cylinder that is slightly out of round, or a surface with marks on it, can produce uneven cells and uneven ink transfer.
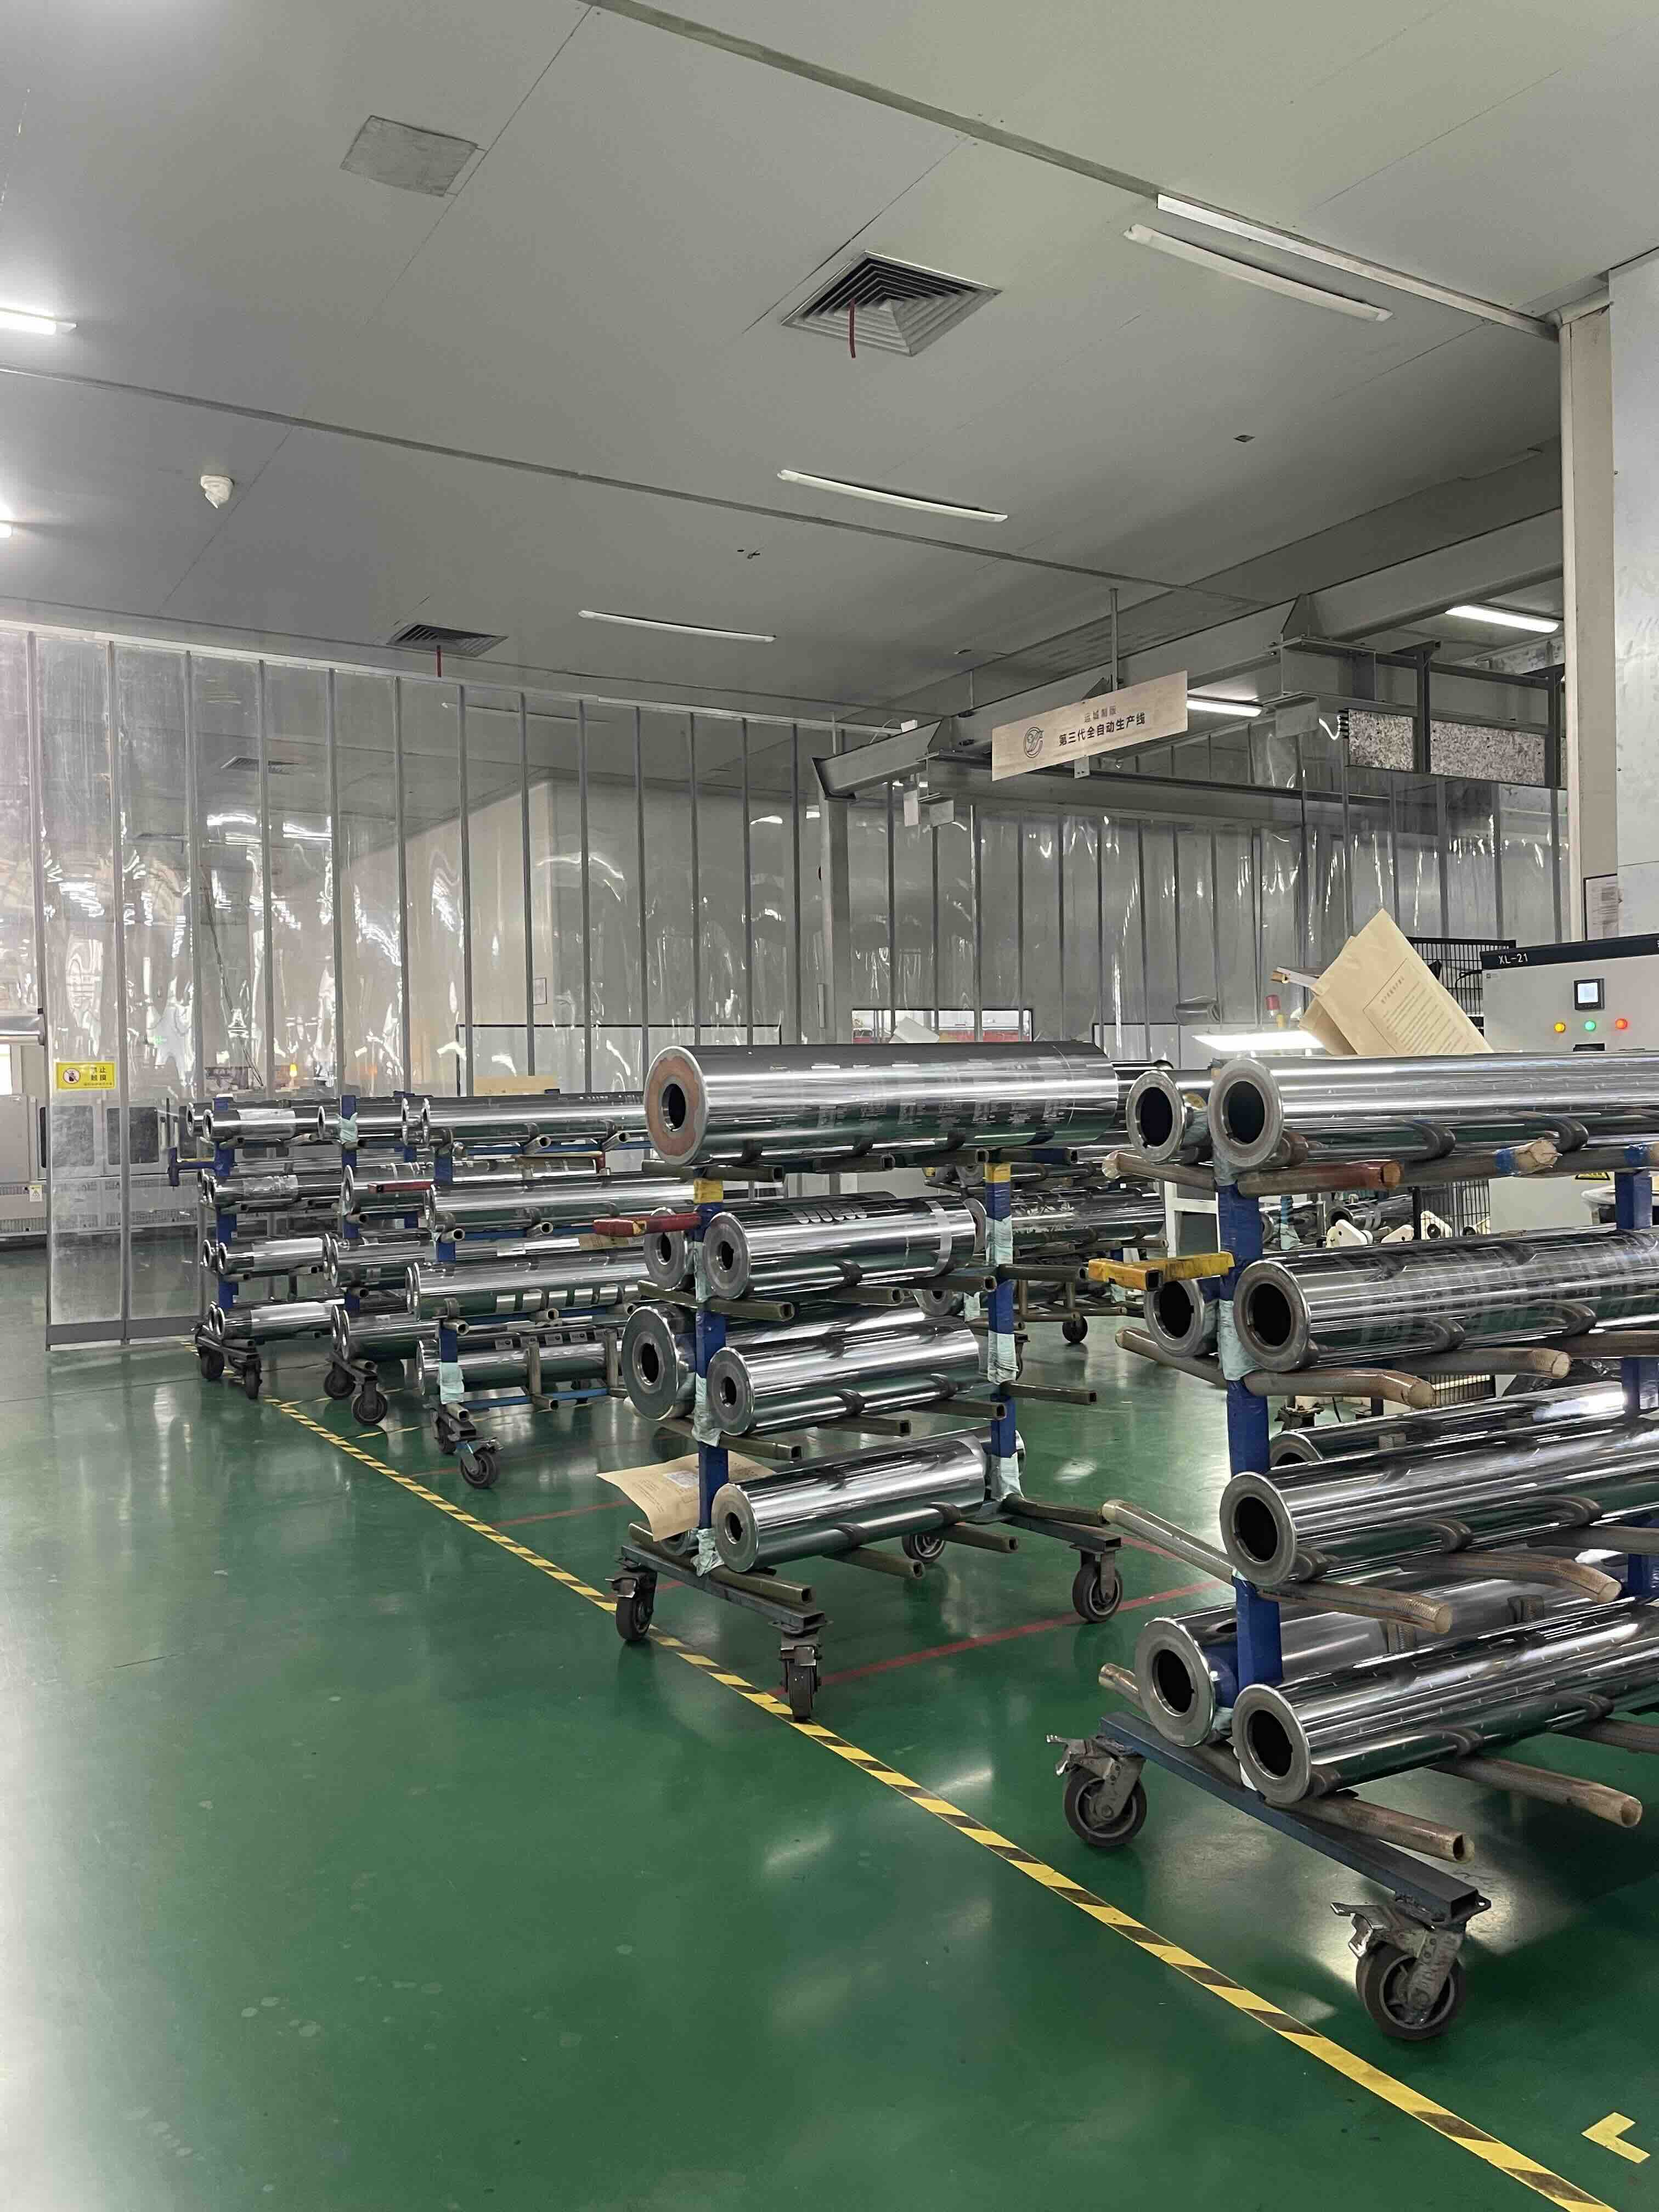
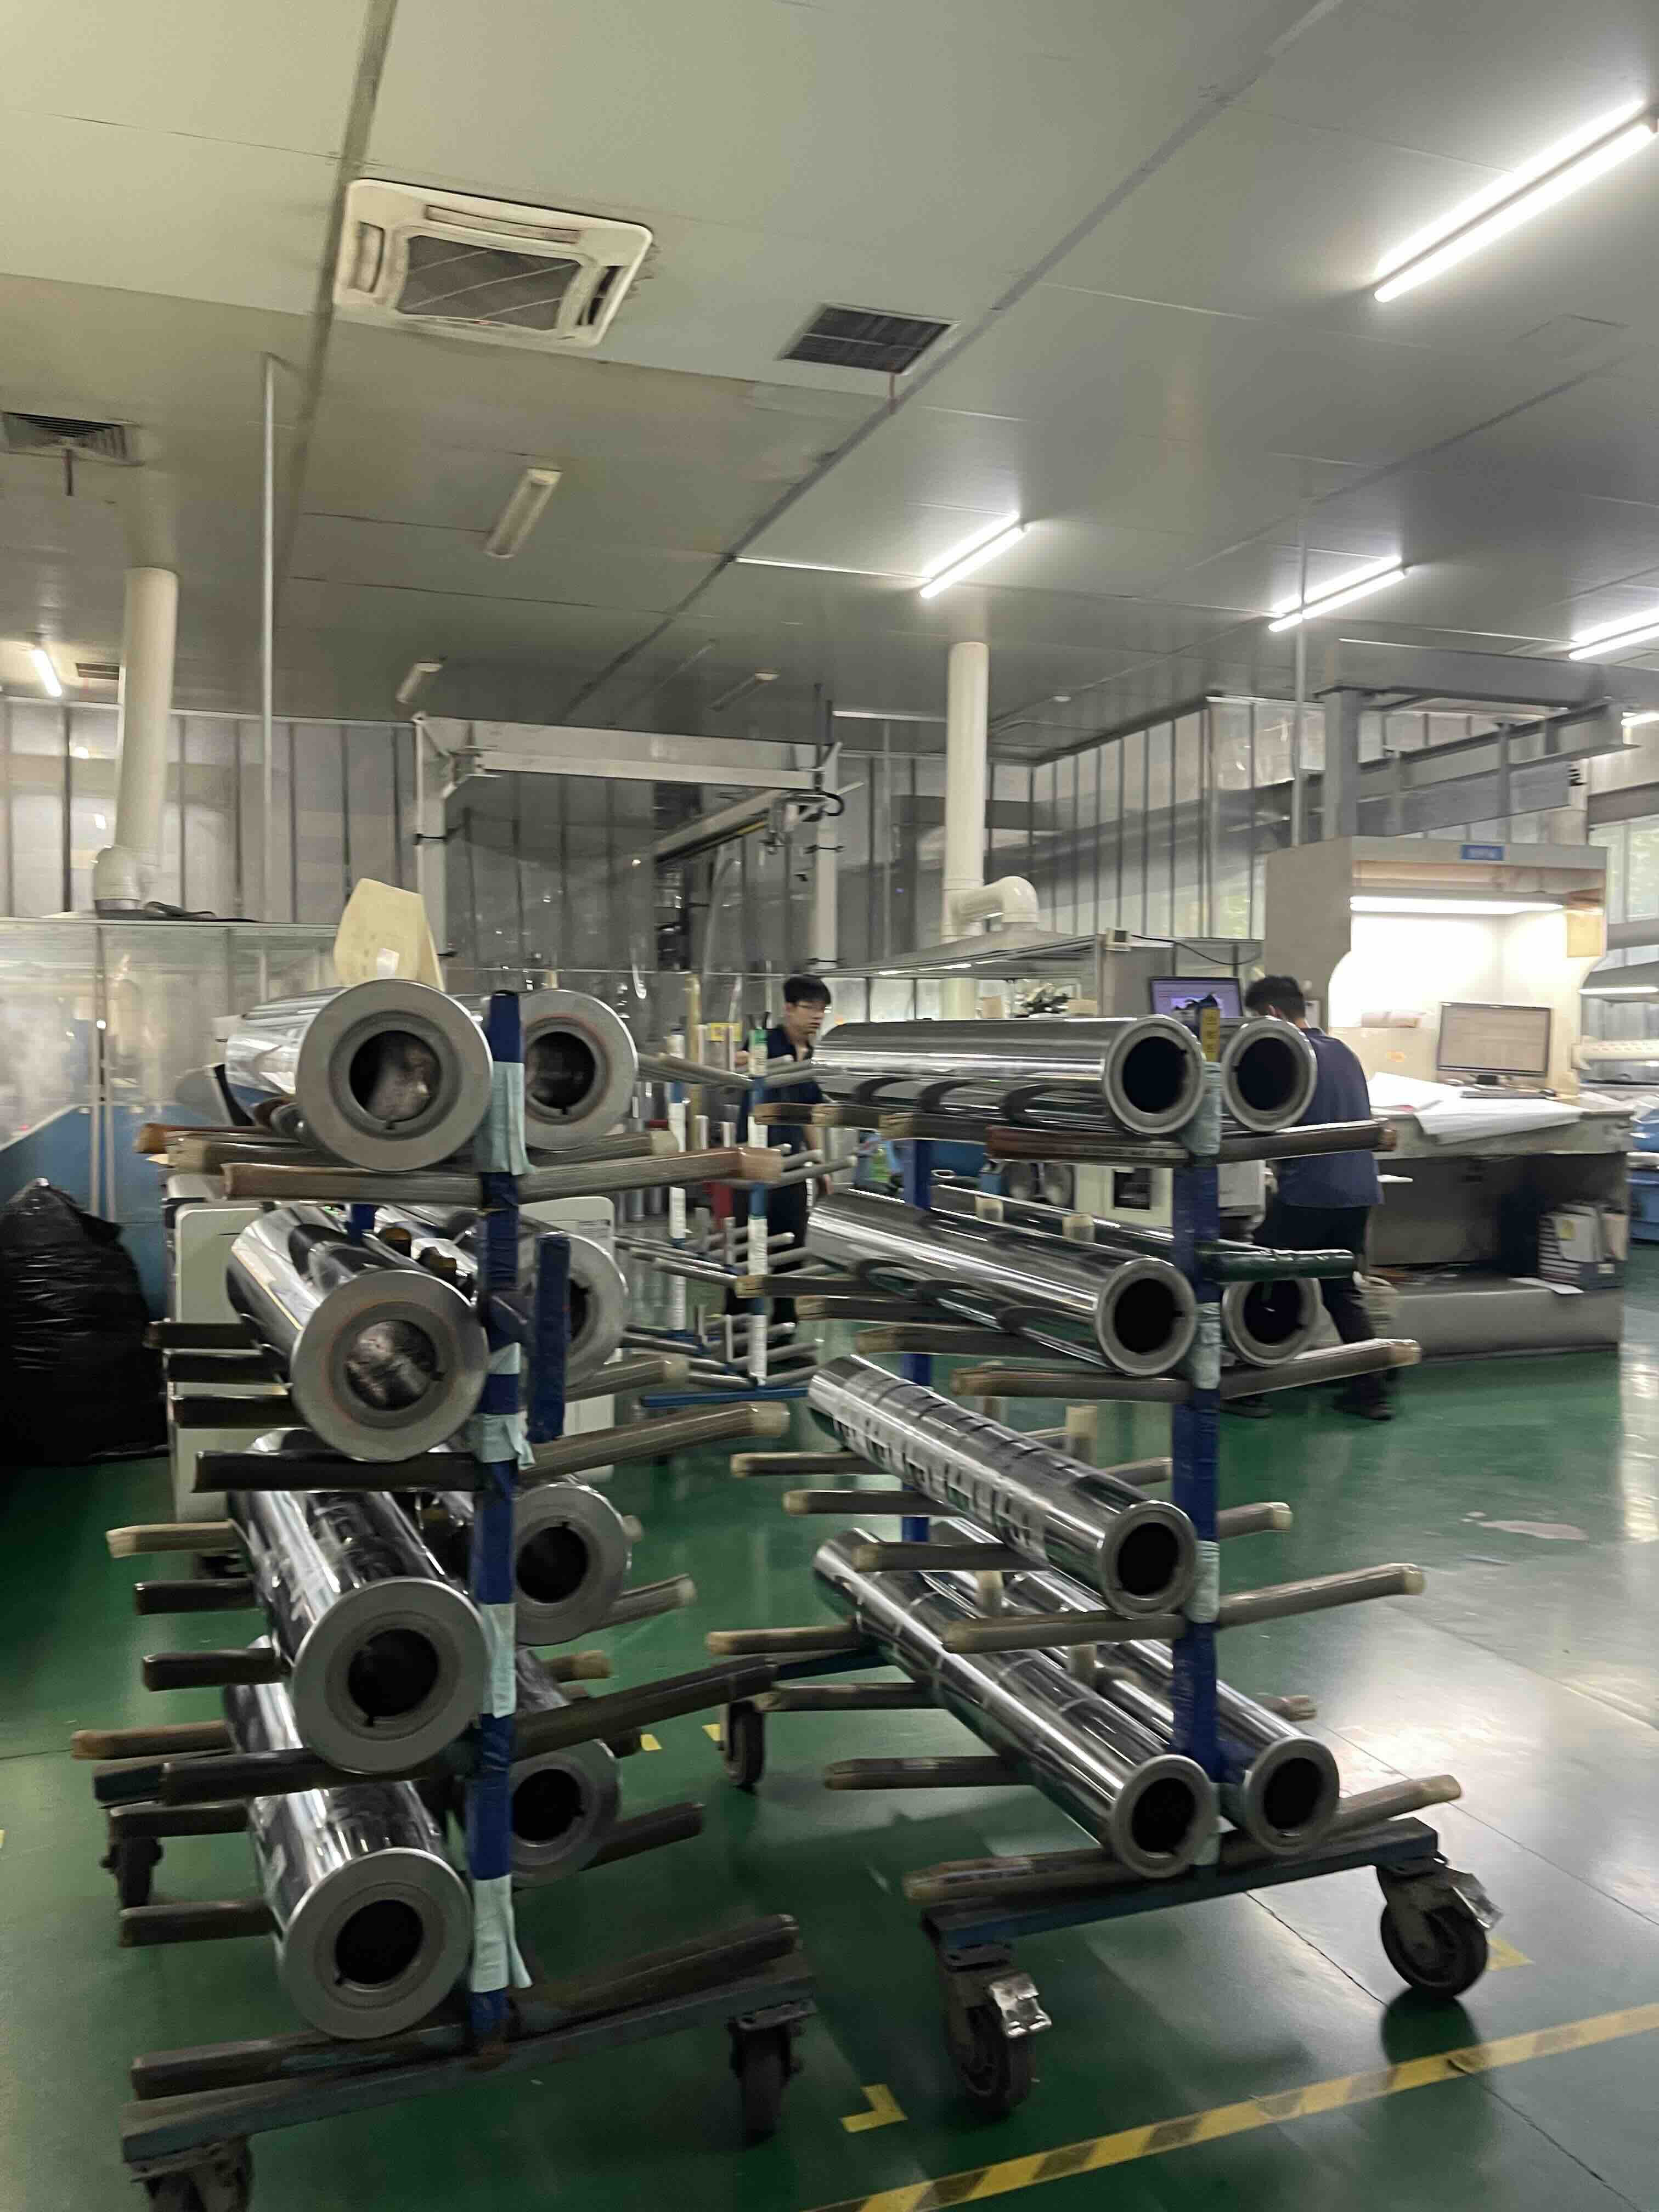
GRAVURE CYLINDER / 04
How Is a Gravure Cylinder Engraved?
Engraving is where the packaging design becomes part of the cylinder. The artwork is separated into colors, and each color separation is converted into a pattern of microscopic recessed cells on its own cylinder. Larger or deeper cells hold more ink and print a stronger tone; smaller or shallower cells print a lighter one. That is how gravure reproduces gradients, photos and fine text.
There are two common engraving methods in the industry. Electromechanical engraving uses a diamond stylus that vibrates at high speed and cuts each cell into the copper as the cylinder turns. Laser engraving uses a laser to form the cells. Both methods are used for packaging cylinders, and the choice depends on the job and the equipment. We are not stating here which method was used for any particular cylinder in these photographs.
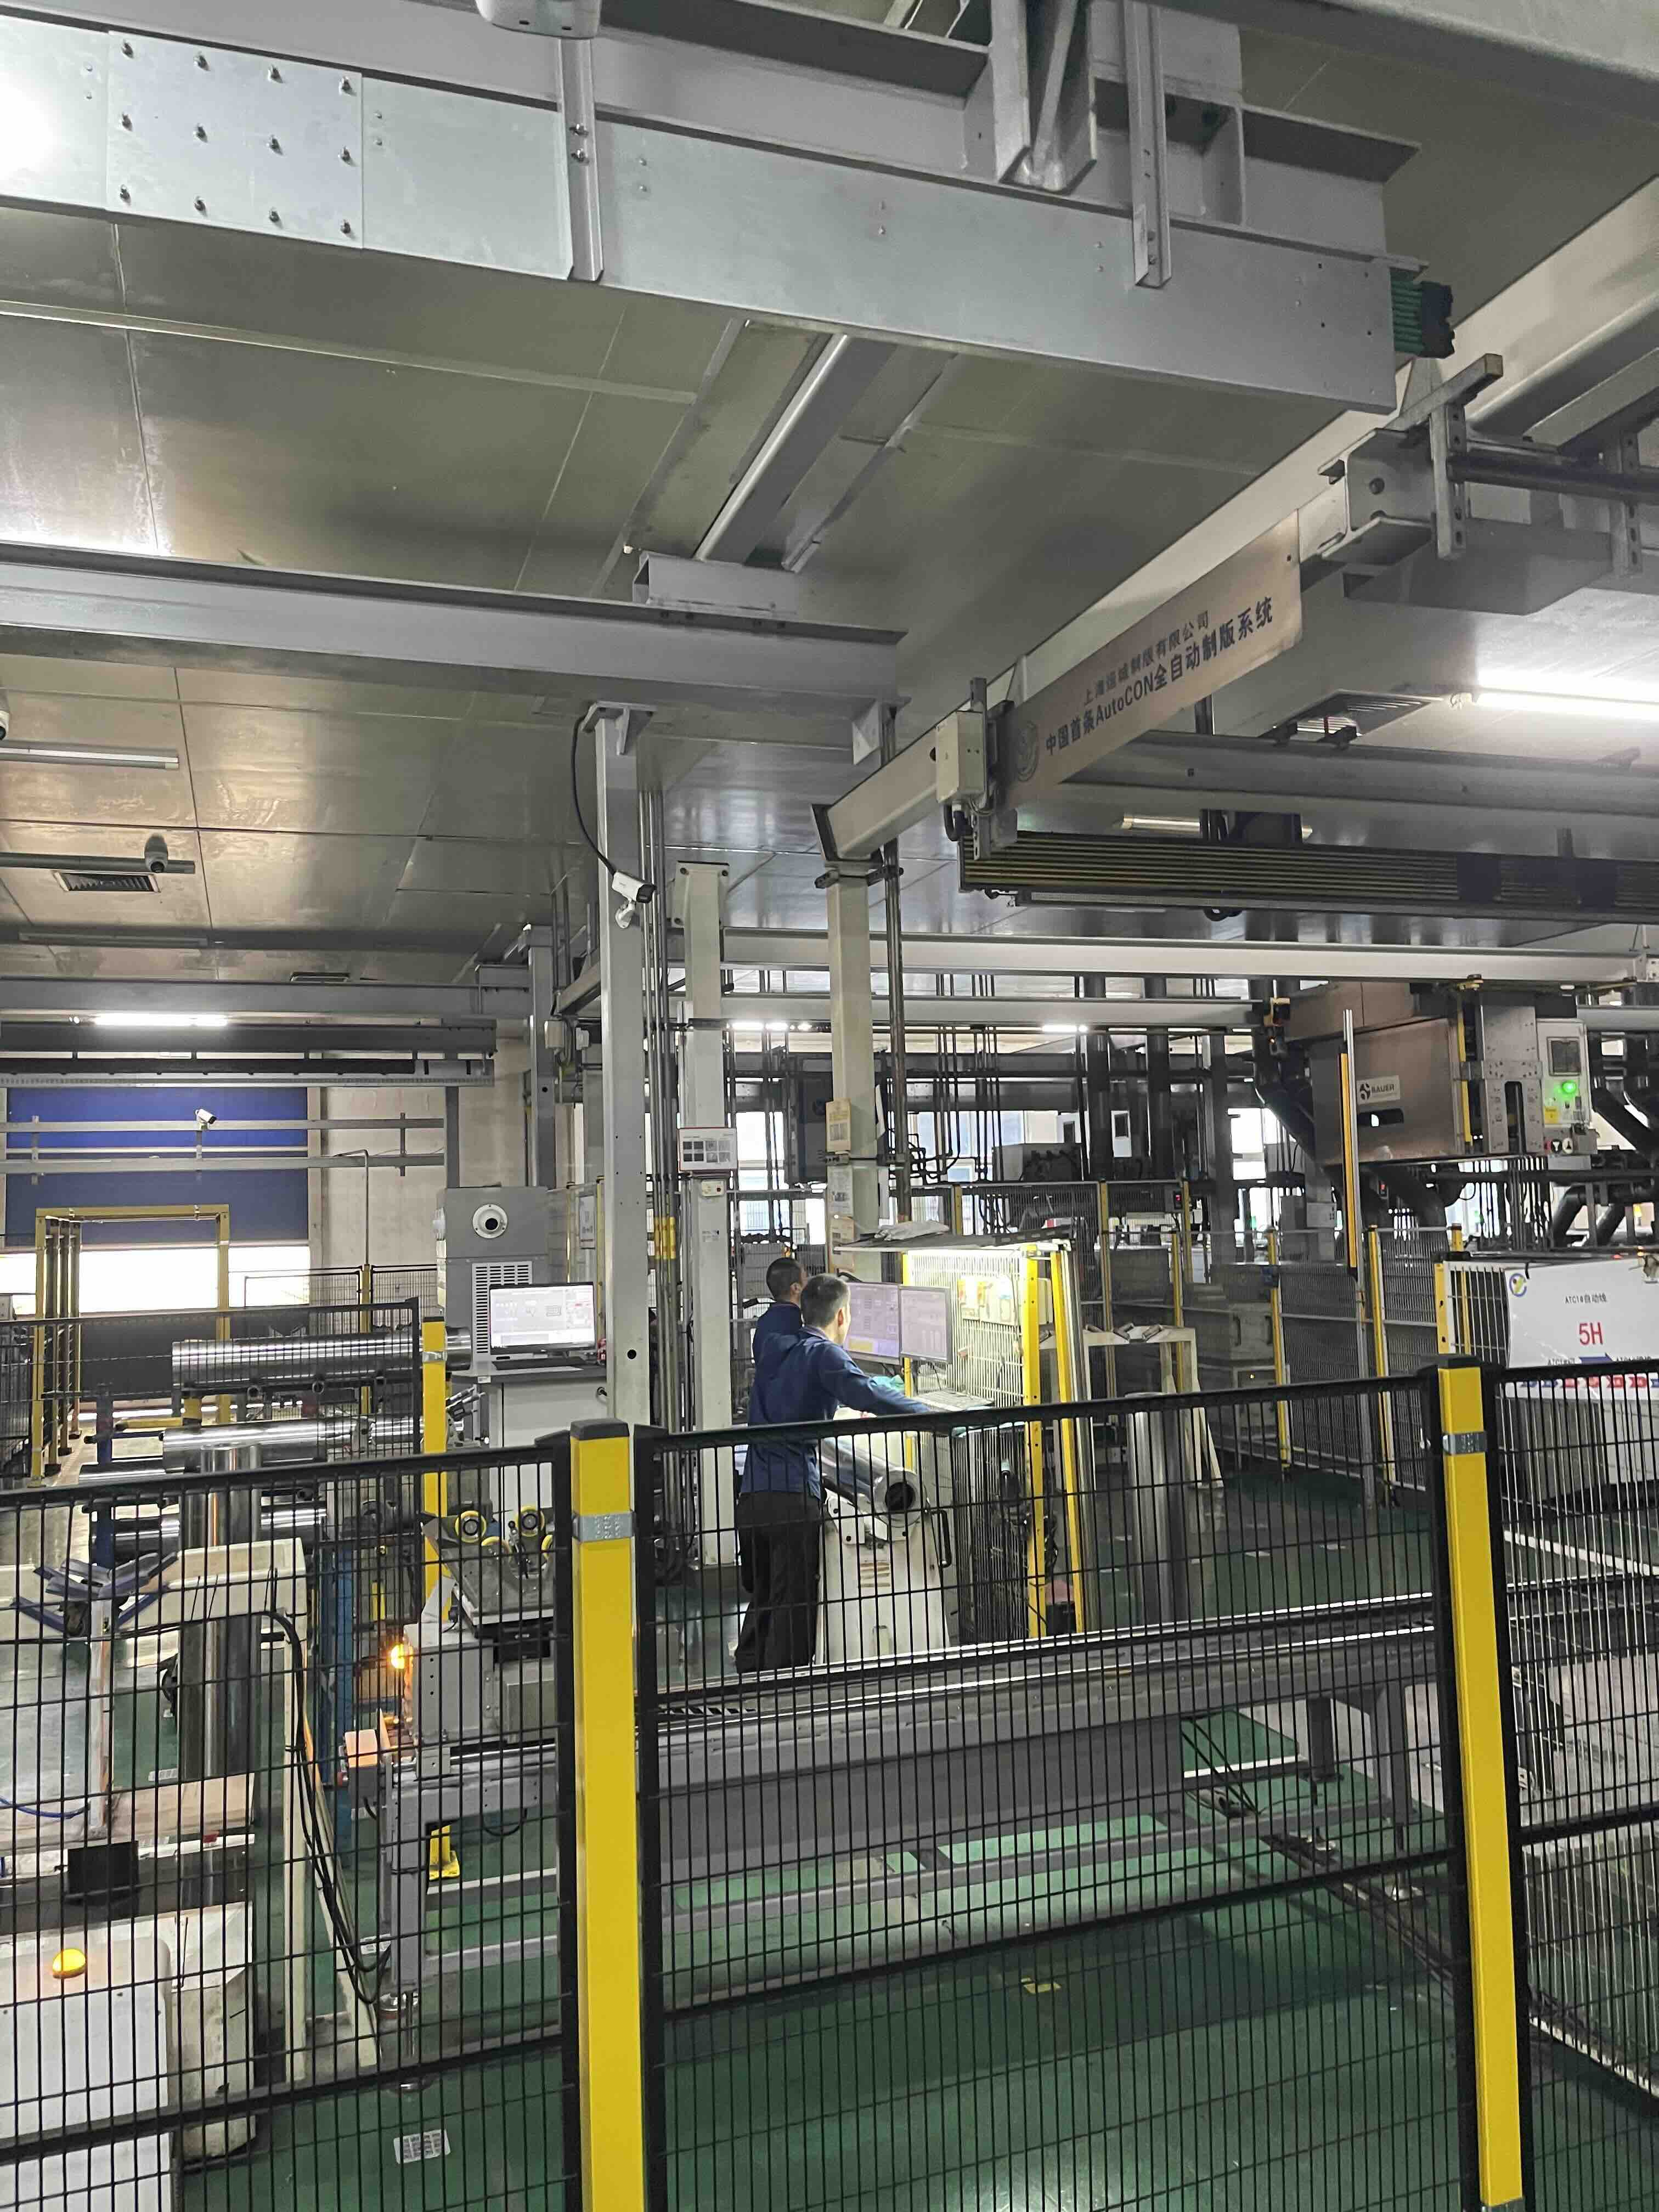
This is also where precision shows most clearly on the finished pouch. Small text such as ingredient lists, barcodes and the fine lines on a custom stand-up coffee bag all depend on cells being engraved cleanly and consistently.
How Multiple Gravure Cylinders Create One Full-Color Packaging Design
A gravure press prints one color per cylinder. Each cylinder transfers one ink, or color separation, and the separations land on top of each other in register to build the complete design. Many designs use the four process colors, cyan, magenta, yellow and black (CMYK). Others need additional spot colors for exact brand shades, white ink, or other special separations. The example below uses six cylinders.
Schematic only. Each cylinder prints one color; together, printed in register, they form the finished design.
Because the colors overlap, each cylinder has to line up precisely with the others on the press. Accurate cylinder dimensions help registration, and press setup and registration control do the rest.
GRAVURE CYLINDER / 05
Chrome Plating
Copper is ideal for engraving, but it is too soft to run on a press for long. During printing, a steel doctor blade constantly wipes ink from the cylinder surface. To protect the engraved copper from that wear, a hard chromium layer is plated over it after engraving.
The chrome layer helps the cylinder keep its engraved detail over longer print runs and repeat orders. When the design eventually changes, the chrome and copper layers can be removed so the cylinder base can be reused.
GRAVURE CYLINDER / 06
Final Inspection and Proofing
Before a cylinder leaves the manufacturer, it needs to be checked. The surface should be free of scratches, pits and plating defects. The engraved image should match the approved artwork, with cells formed cleanly. The cylinder's dimensions should match what the press and the print repeat require.
Proofing gives a printed view of the result before production. Catching a problem at the cylinder stage is far cheaper than finding it after thousands of meters of film have been printed. We are not publishing Yuncheng's internal inspection methods or criteria here, because those details were not part of this visit report.
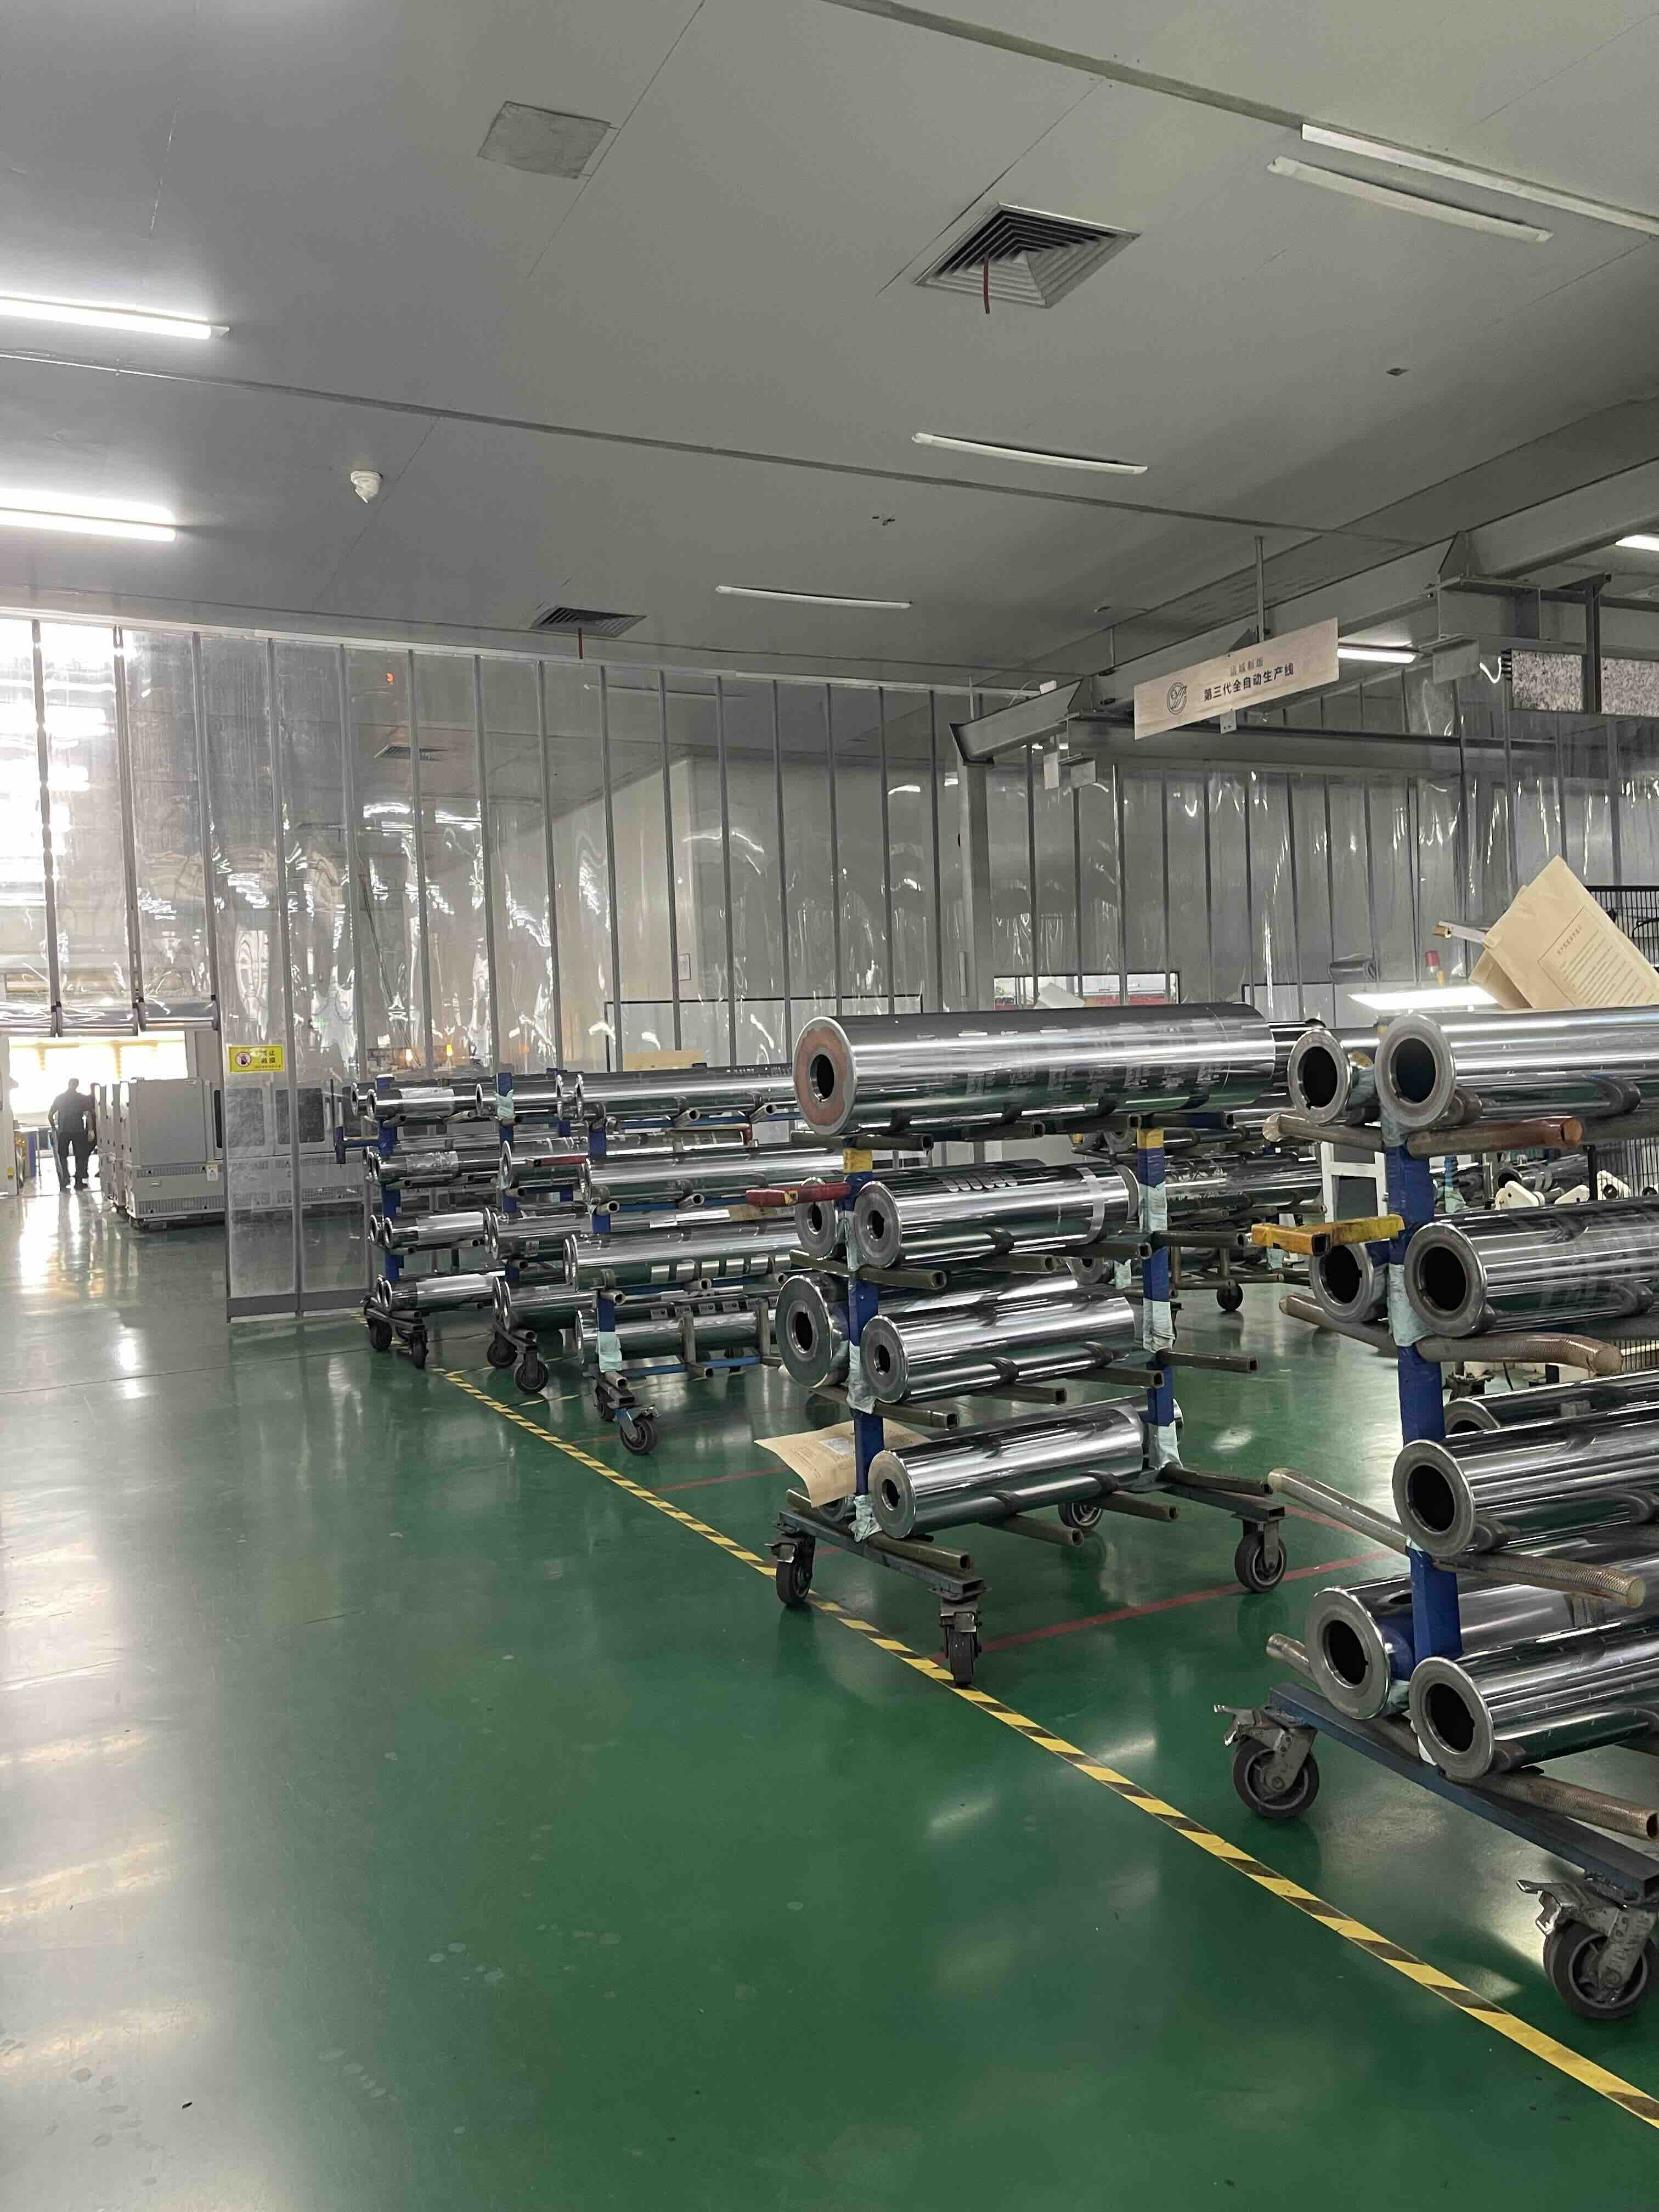
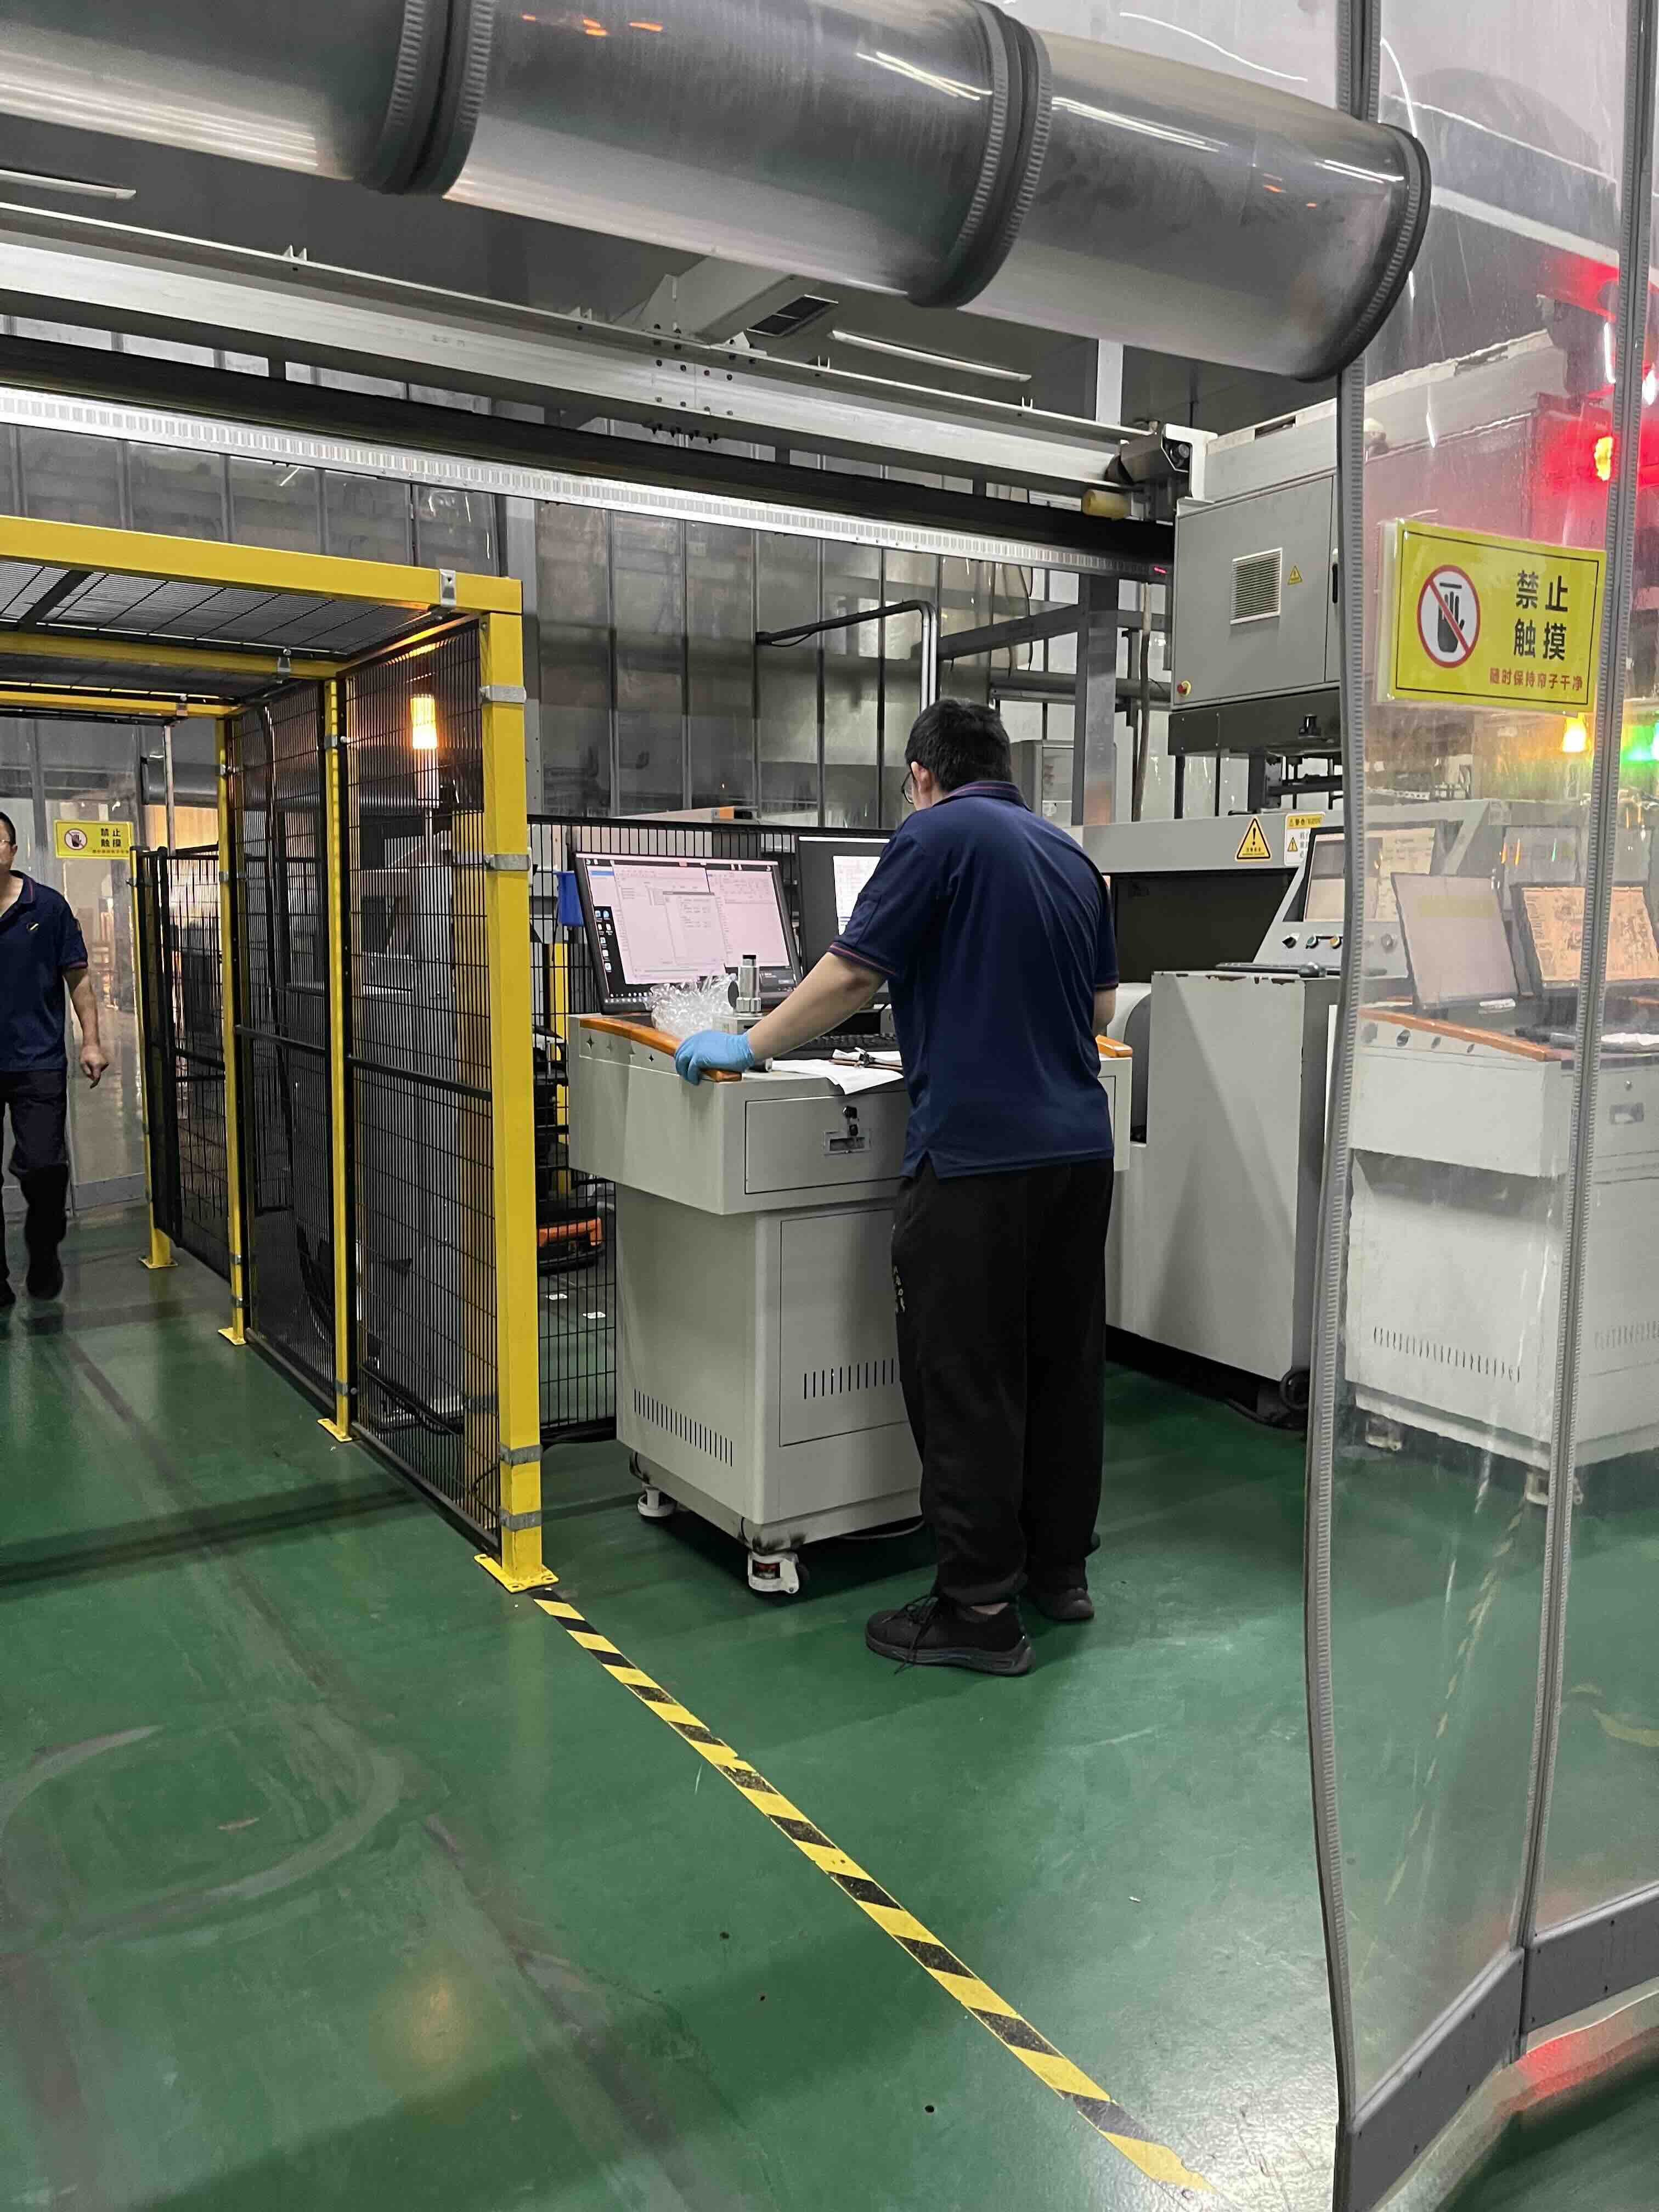
GRAVURE CYLINDER / 07
From Cylinders to Printed Packaging
Once the finished cylinders arrive at BioPouches, each one is mounted in its own station on our gravure press, one cylinder per color. As the press runs, each cylinder picks up ink, the doctor blade wipes the surface, and the film passes between the cylinder and an impression roller. Station by station, the full design is built up on the film.
We explain the press itself, including the 10-color gravure press we use and how printed film is inspected, in our article on how flexible packaging is printed. You can also see the printing area, lamination and pouch-making equipment in our factory photo tour.
Why BioPouches Chooses Specialist Manufacturing Partners
Cylinder making is a specialist trade. It combines precision machining, plating, engraving and inspection, and it takes experience to do all of these consistently. Yuncheng is a specialist in this field with an international production network, and we consider them an experienced, capable partner for the cylinders behind our gravure printing.
Our reasoning is simple. Customers judge their packaging by the finished pouch: whether the colors match, whether the text is sharp, and whether a reorder looks like the last one. Those results depend on many things, but they start with the tools. Choosing a specialist for components our customers never see is part of how we look after the parts they do see.
How Cylinders Fit Into Our Own Production
Cylinders are the first link in a longer chain. After printing, film moves on to lamination where the structure requires it, then to printed-film inspection, slitting, pouch forming, sealing and finished-pouch checks. Good cylinders make the printing stage easier to control, and the later stages carry that quality through to the finished pouch. Our article inside BioPouches manufacturing walks through those stages.
Frequently Asked Questions
What is a gravure printing cylinder?
It is a steel cylinder plated with copper, engraved with one color separation of a design as tiny ink-carrying cells, and usually protected with a chrome layer. A gravure press uses one cylinder for each color.
Why does gravure printing need a separate cylinder for each color?
Each press station applies one ink. A design with four process colors needs four cylinders, and spot colors, white or other special inks each need their own cylinder as well.
Are gravure cylinders reused for repeat orders?
Generally, yes. As long as the artwork does not change, the same cylinders can be used again for a reorder, which helps repeat orders print consistently. If the design changes, new engraving is needed.
Is gravure always the best printing method for custom pouches?
No. Because cylinders have to be made first, gravure usually suits larger runs and repeat designs. Shorter runs or frequently changing designs are often better suited to digital printing. Our guide to custom pouch MOQ and printing methods explains how quantity affects the choice.
Flexible Packaging Expert at BioPouches
Asad Manan has over 6 years of hands-on experience in flexible packaging at BioPouches. He specializes in beauty product, Coffee, Food-Snacks, and health products packaging solutions that protect sensitive formulas and extend shelf life. With strong content writing skills, he creates practical guides to help brands choose the right packaging for stability, hygiene, and sustainability.
Latest News